A direct booking vacation rental website empowers you as a property owner or manager to have greater control, higher revenue potential, direct guest communication, branding opportunities, access to valuable data and enables you to build a sustainable, long-term, successful vacation rental business.
OwnerRez Hosted Websites are available as part of your OwnerRez account for a nominal monthly amount. You can enable a Hosted Website in your account at any time. Just go to your account Billing (lower left navigation menu), click on the "Change Premium Features" button, and choose the "Enabled" option button next to "Hosted Websites".
- March 11, 2025, Webinar: Focus Session - Hosted Website Setup & Customizations
- Setting Up
- Broken Link Protection
- Customization
- Going Live
Here is a live example of a hosted website for an OwnerRez user who has multiple properties: www.shenrent.com

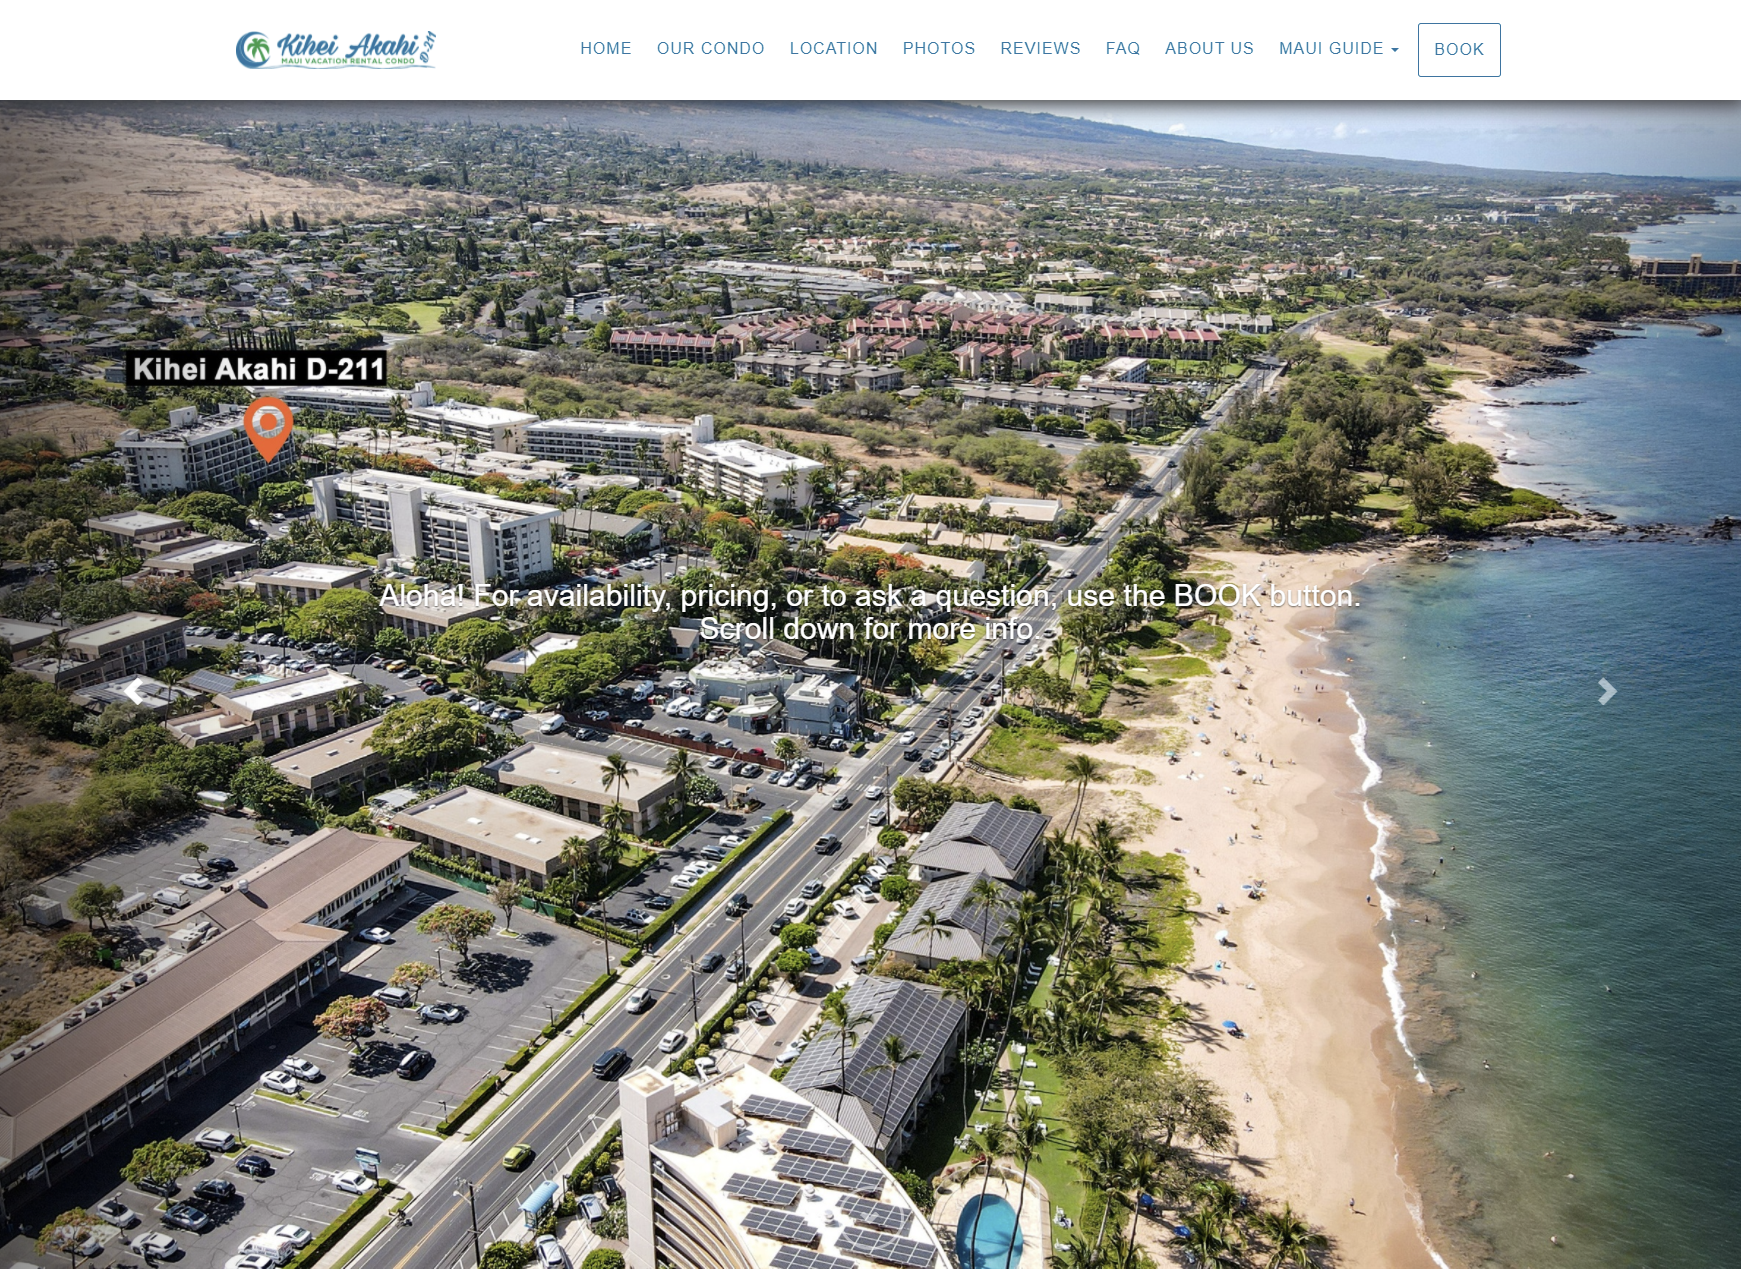
Here's another example of a single-property website with a shorter image carousel and the description showing up higher in the page.

Setting Up
Steps to get a new hosted website set up:
Check out our Hosted Website Video!
- Fill in the Location, Description, Amenities, and Photos tabs of each property. This will fill your hosted website with property information, including your hosted website's Photo Gallery and exterior photos. If more than 80% of the photos are associated with specific rooms, individual tabs will not be displayed, and the view will default to the photo gallery.
- Go to Hosted Sites in Settings and choose the "+ Create Hosted Website" button. On the next page enter the basics for your new site. Give it a Name (this is for internal purposes only). Then select if it will be for a single property or multiple ones (if you only have one place now but plan to add more, make sure to pick "Multiple").
- In the Hosting / Domain section, the OwnerRez system will assign you a "Test Location" so you can ignore this field. Then, if you already have a URL for your website, enter it in the "Live Location." (If you don't have a URL yet, just leave this empty.)
- For the Display, you can choose how your property is shown on a map, add a Favicon, and decide if you want to include your Account Logo on the website.(Your Account Logo can be added/found in your Profile at the upper, right of the OwnerRez screen.)
- Social Share Image: This is the image which will show in a social media post where you've added a link to your website. You have a choice of which image from the website you'd like social media to use. But, they often do their own thing, and the picture you thought you were adding isn't what shows up. Check out our Social Share Image info if you run into problems.
- Finally you have Options on which properties are displayed on your site, and whether you want your default view for editing to be "Visual" (you actually see what the page looks like) or HTML (for those who understand how to edit using HTML code).
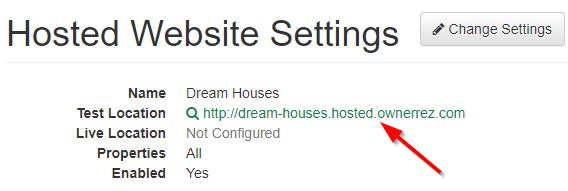
- You're done! Click "Save" and you've now got a site set up at a test location on our servers. To see what your new website looks like, click on the "Test Location" on the Hosted Website Settings page:
Broken Link Protection
Broken link protection is essential for a seamless guest experience, credibility, better SEO, and avoiding dead ends or outdated info. It's enabled by default through Settings > your Hosted Website > Change > Options > Broken Link Protection. It adds page IDs to URLs to prevent breaking when property names or slugs change. Existing users might have seen ID numbers in their URLs before, but this feature helps manage them.Users can also disable the Broken Link Protection by navigating to Settings > their Hosted Website > Change > Options > Broken Link Protection > and selecting Disabled.
Customization
Once the site has been created, you can customize, add content and custom pages, etc. We created some special videos to help you customize your header area (menu, logo, etc.) and footer area (contact info, badges, etc) so give those a look here:
The main page content on the site will be filled from your property info, descriptions, photos, etc. If you drill into each page, you'll be able to add additional content around the predefined sections, and customize settings for the included calendars, book now sections, etc.
If you've got a logo set in your profile, this will be used to brand your site, as well as any other business information you enter there.
You can hook up Google Analytics and Facebook Tracking Pixel to see what guests do on your site.
Going Live
Your site will start with a test location on our hosted OwnerRez domain. When you're ready to go live, connect your domain to the OwnerRez servers by following the instructions in our Going Live with Hosted Websites article.