Import Listing Content from VRBO
This guide provides comprehensive instructions for importing listing content from VRBO using Ownerrez
1. Introduction
Setting up your property listings is Step one of setting up OwnerRez. If you have a listing already on VRBO this process will allow you to import your listing information which can save you the time needed to recreate it
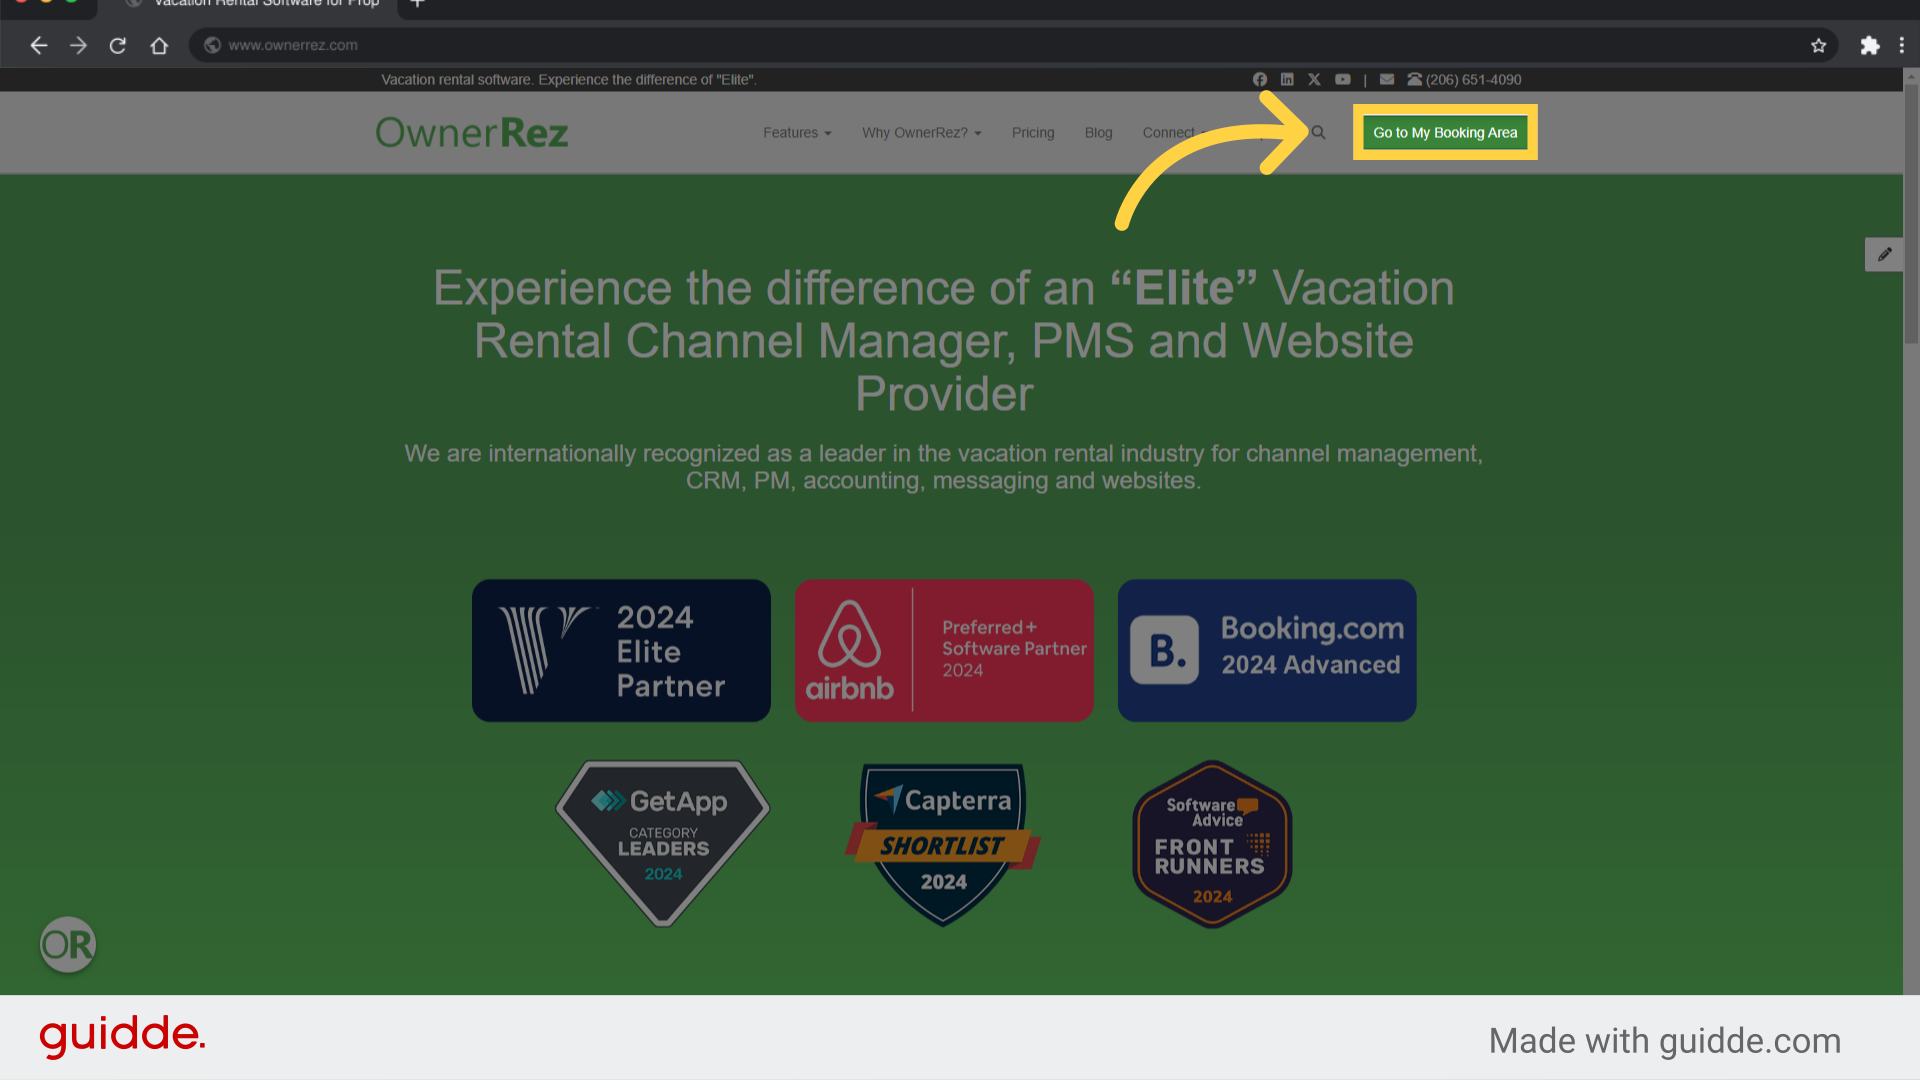
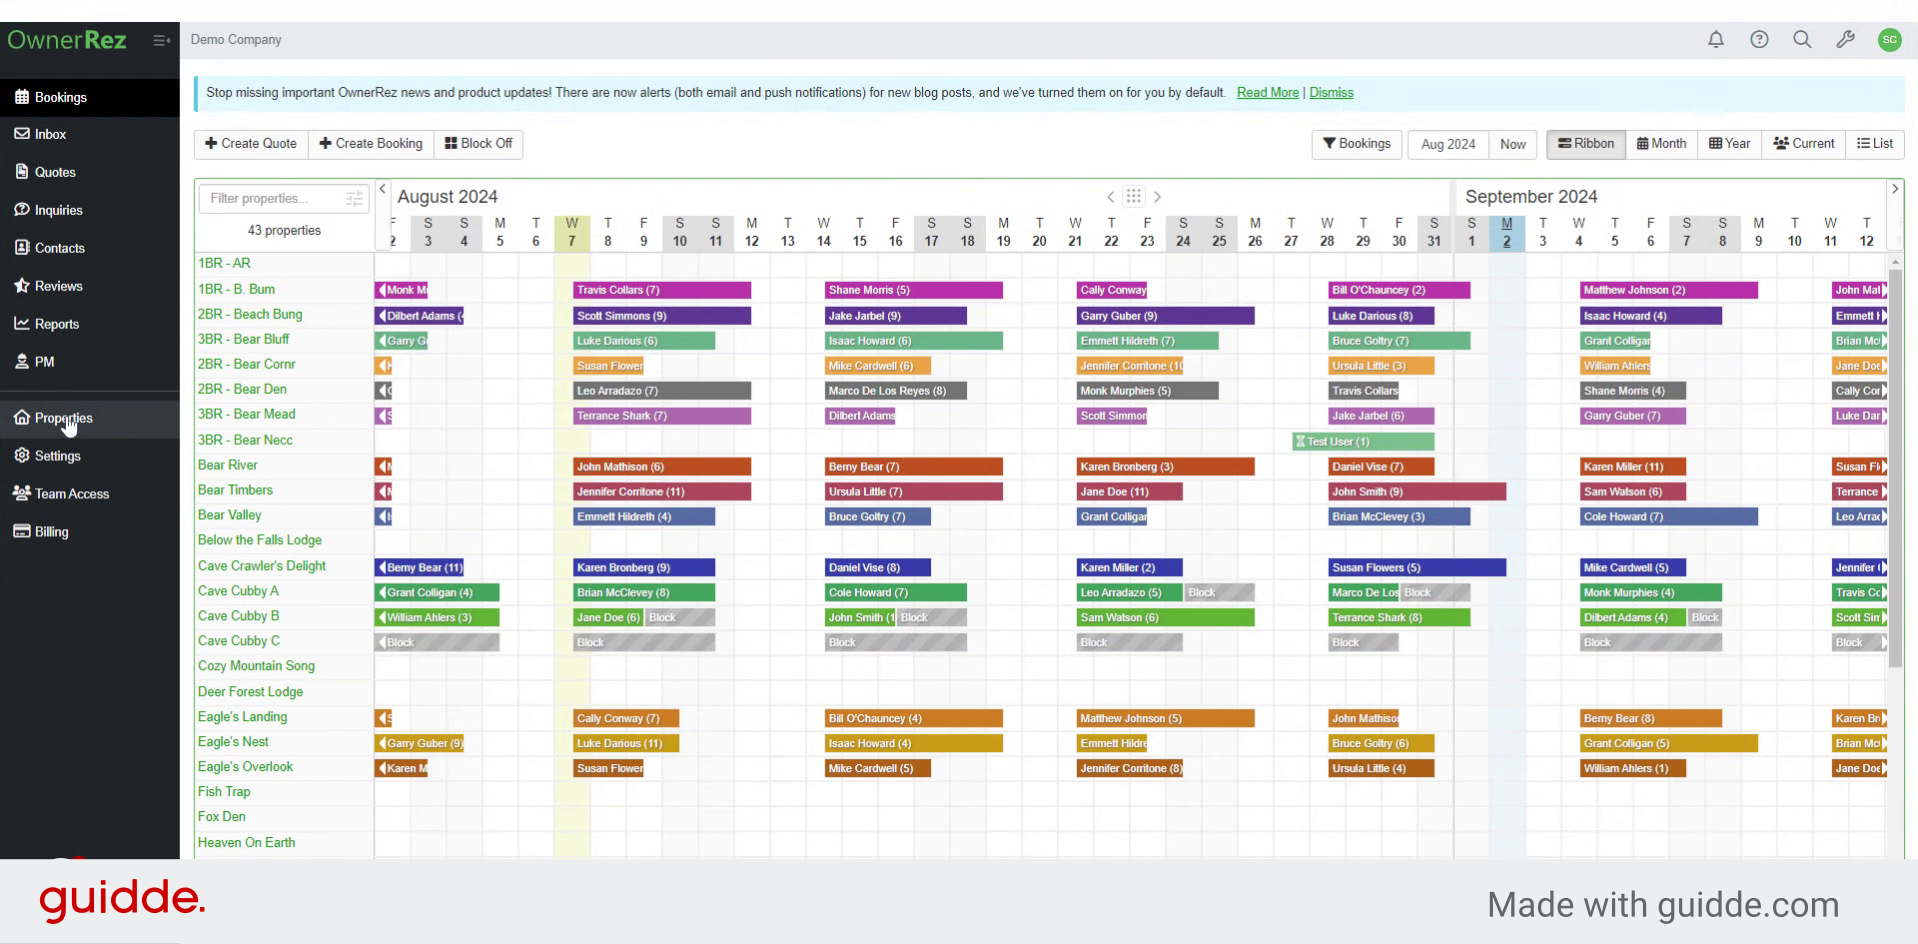
2. Click "Go to My Booking Area"
Navigate to the booking area.
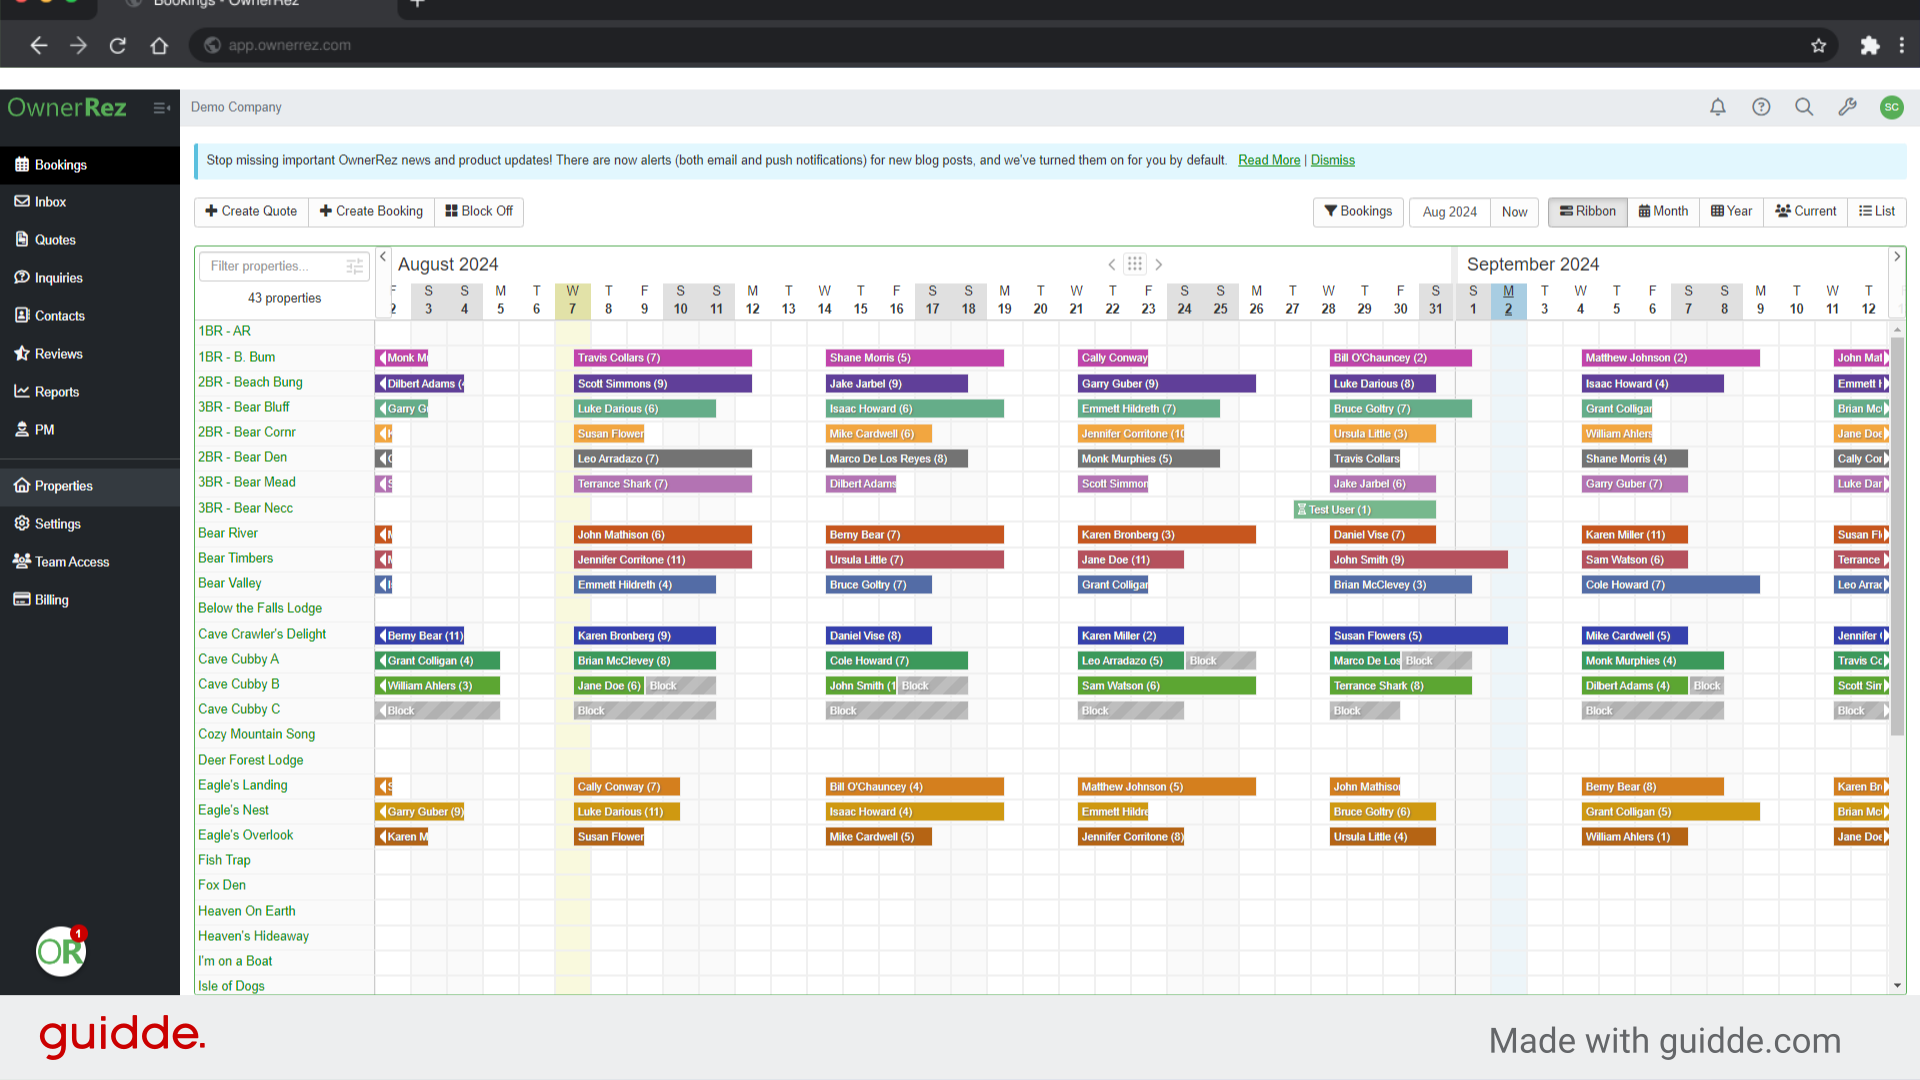
3. Switch to "app.ownerrez.com"
You will enter the main application of Owner Rezz which will show "app.ownerrez.com" in your URL Bar
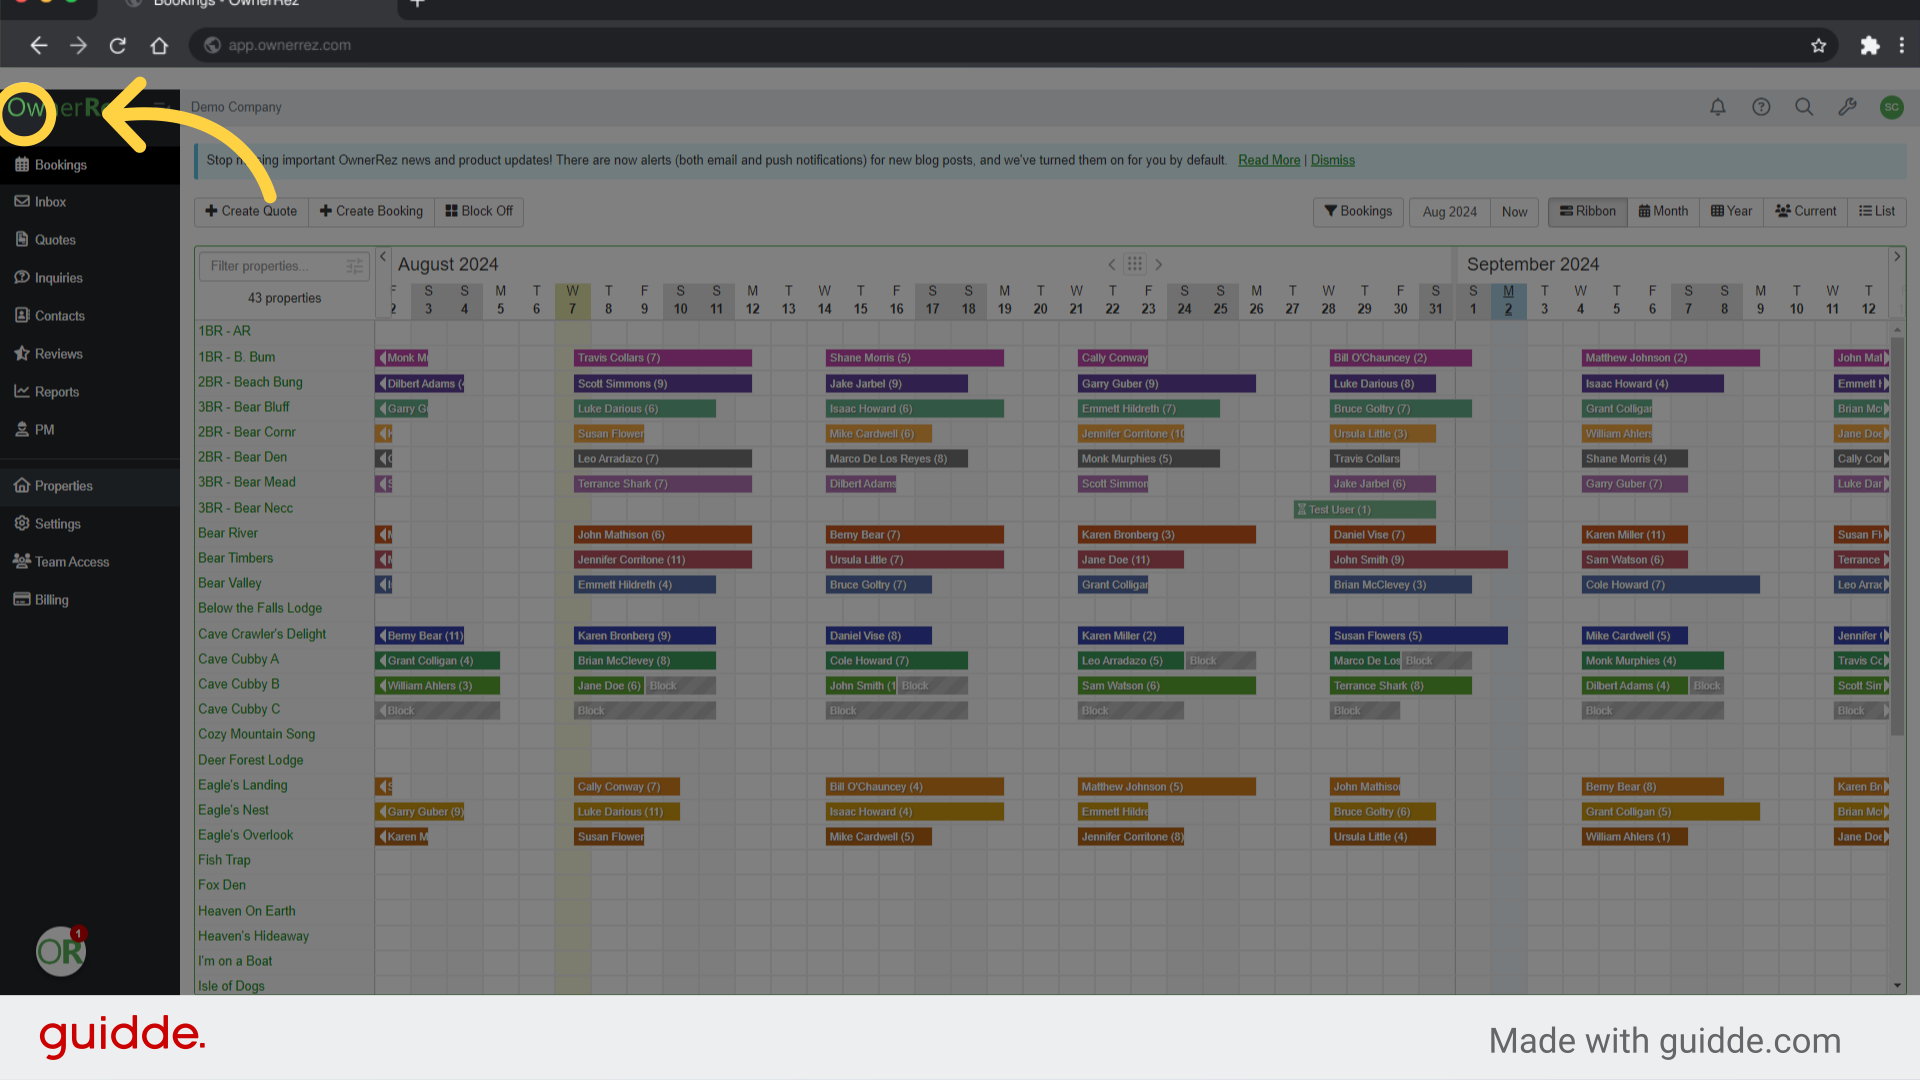
4. Click "OwnerRez"
Clicking the Owner Rez logo in the left hand navigation bar will expand the menu, making it easier to read the options until you get used to the system. You can click this again any time to minimize the navigation bar.
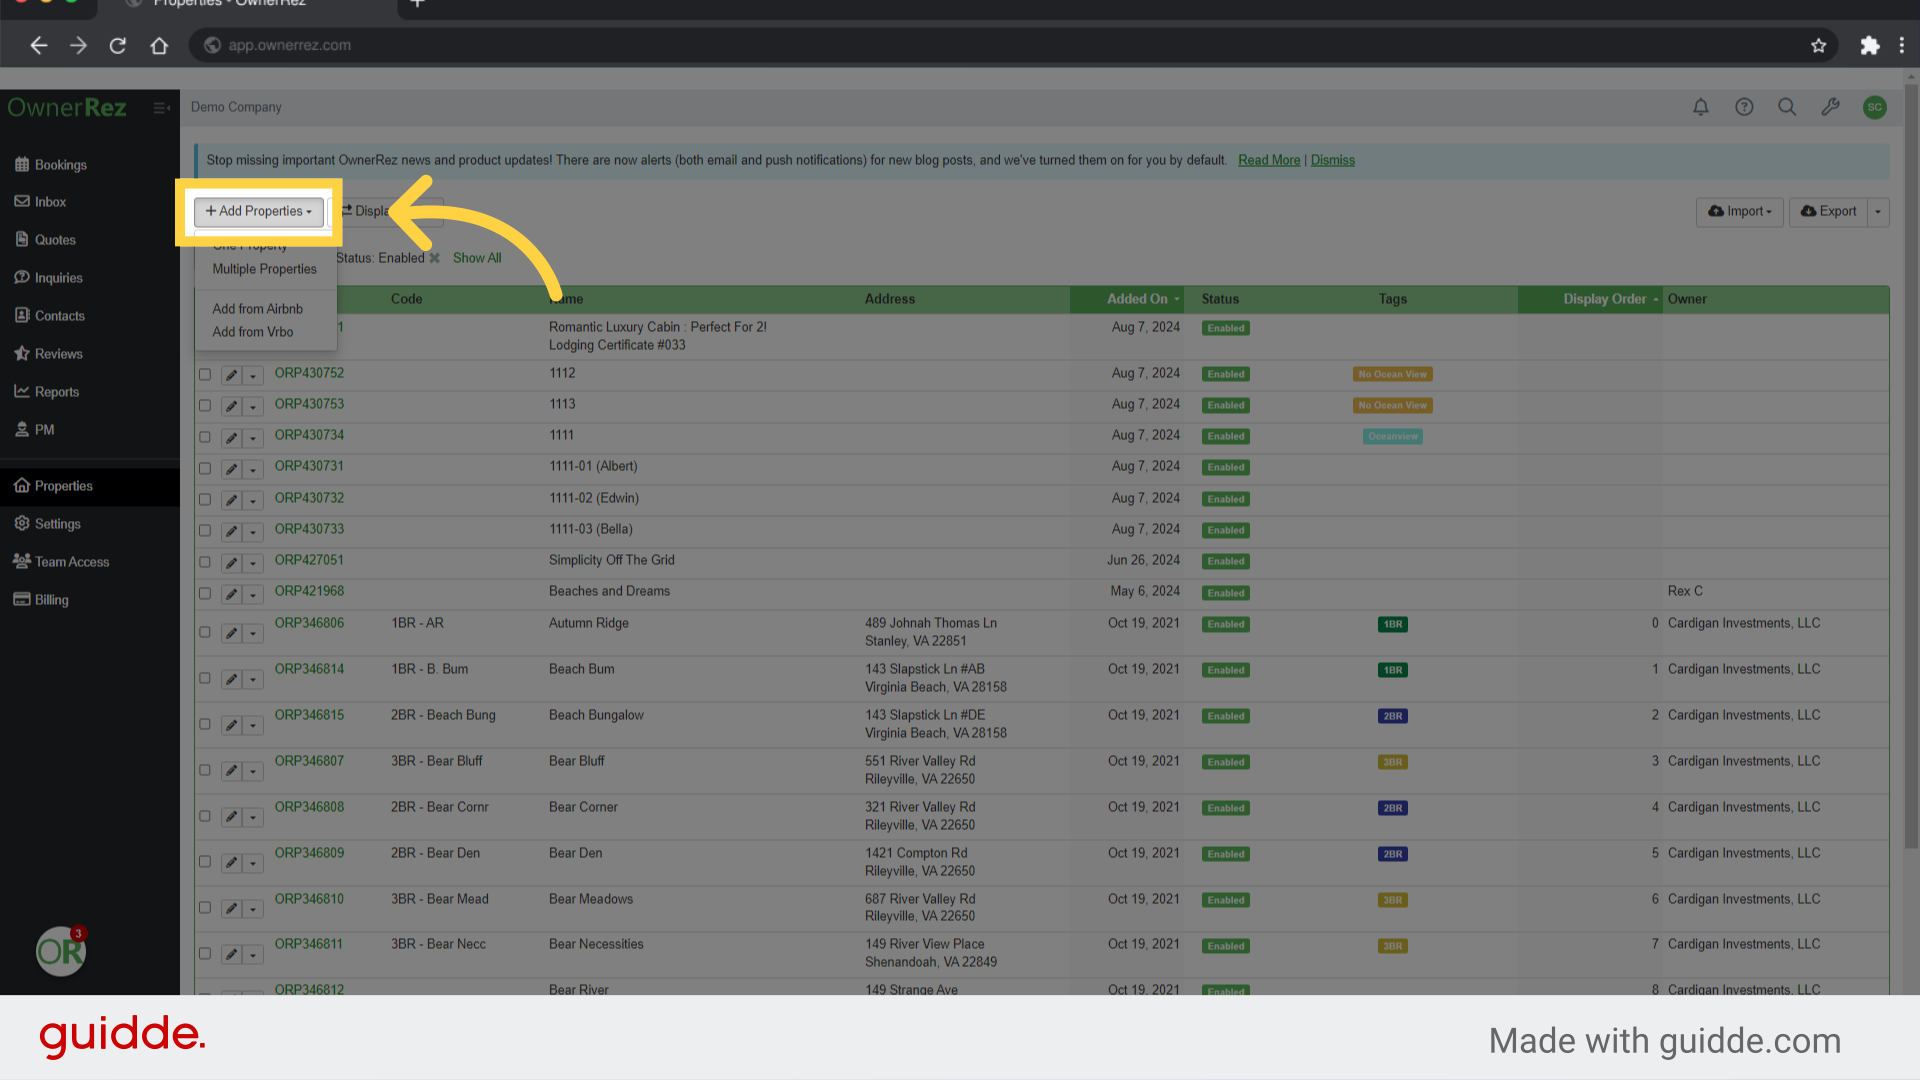
5. Choose Properties
Choose Properties in the left hand navigation bar
6. Click "Add Properties"
Next click add properties.
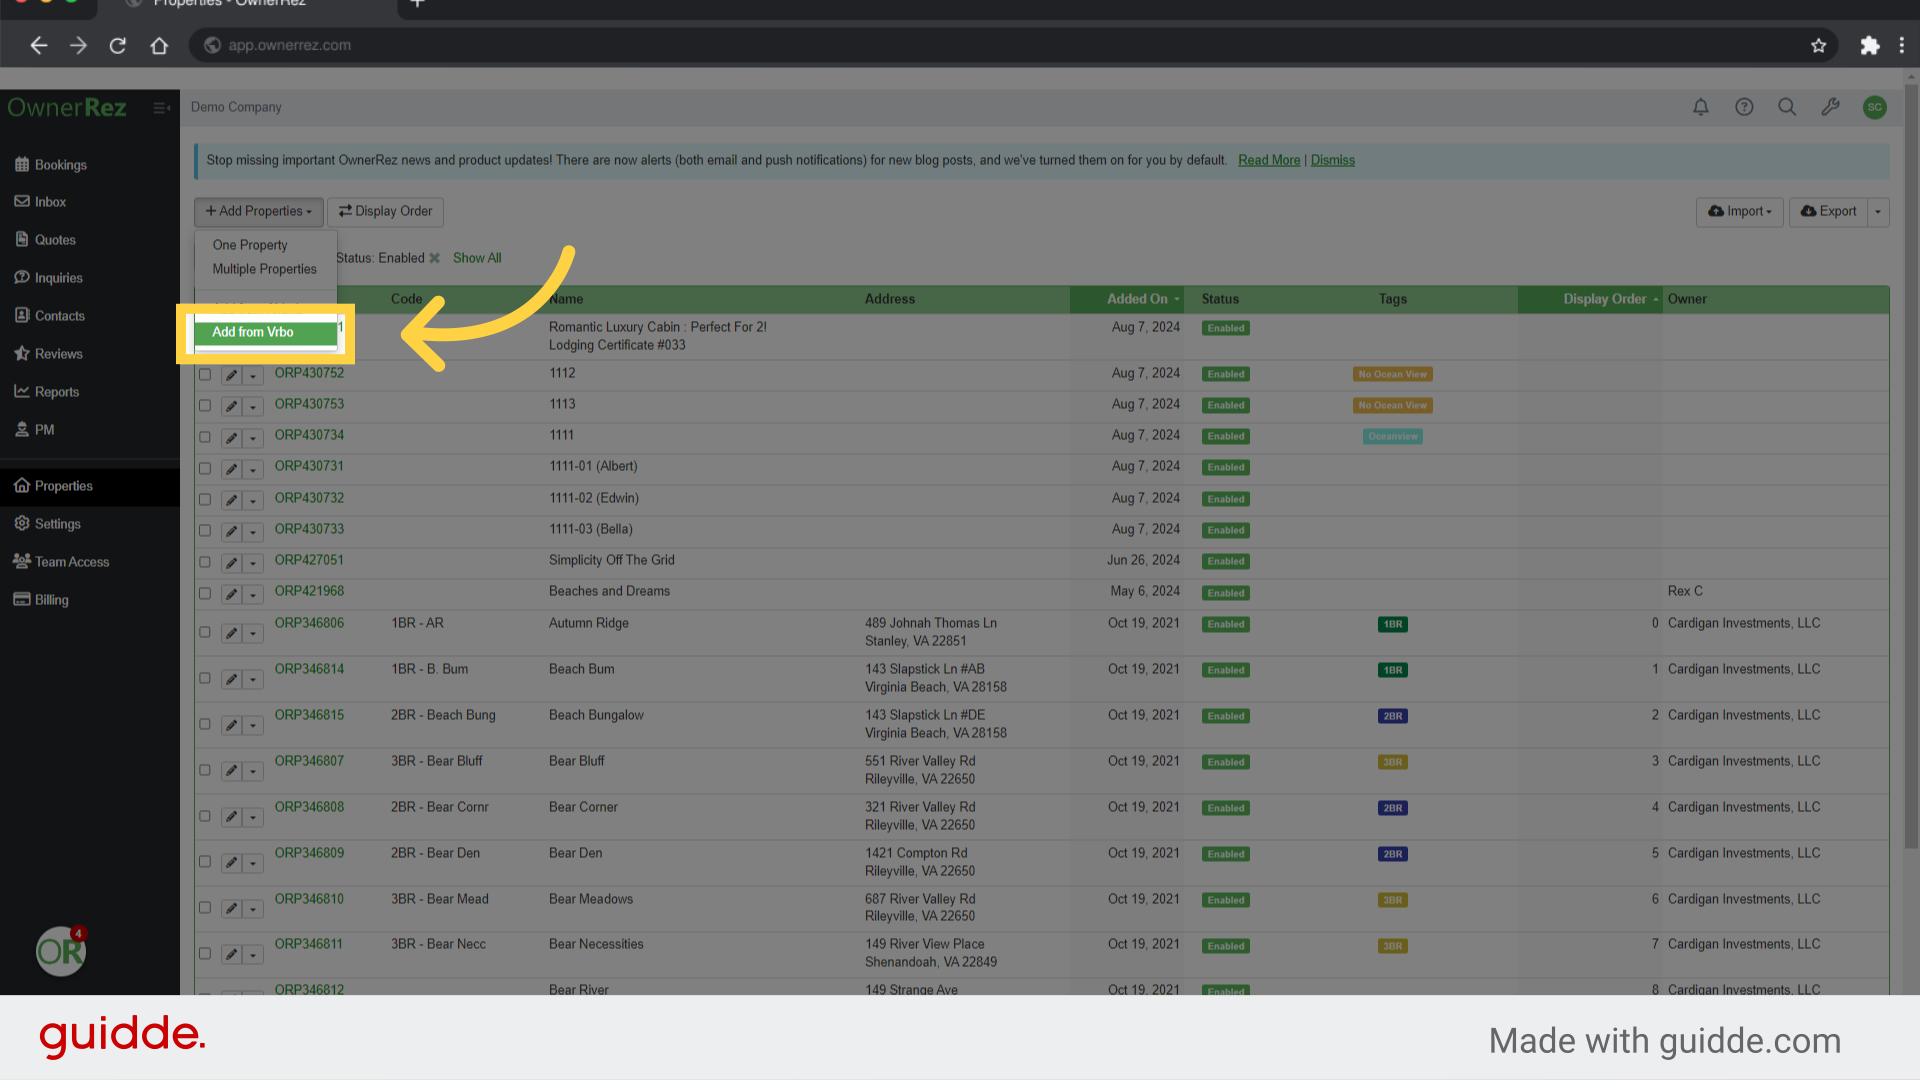
7. Click "Add from Vrbo"
Select the option to add listings from VRBO.
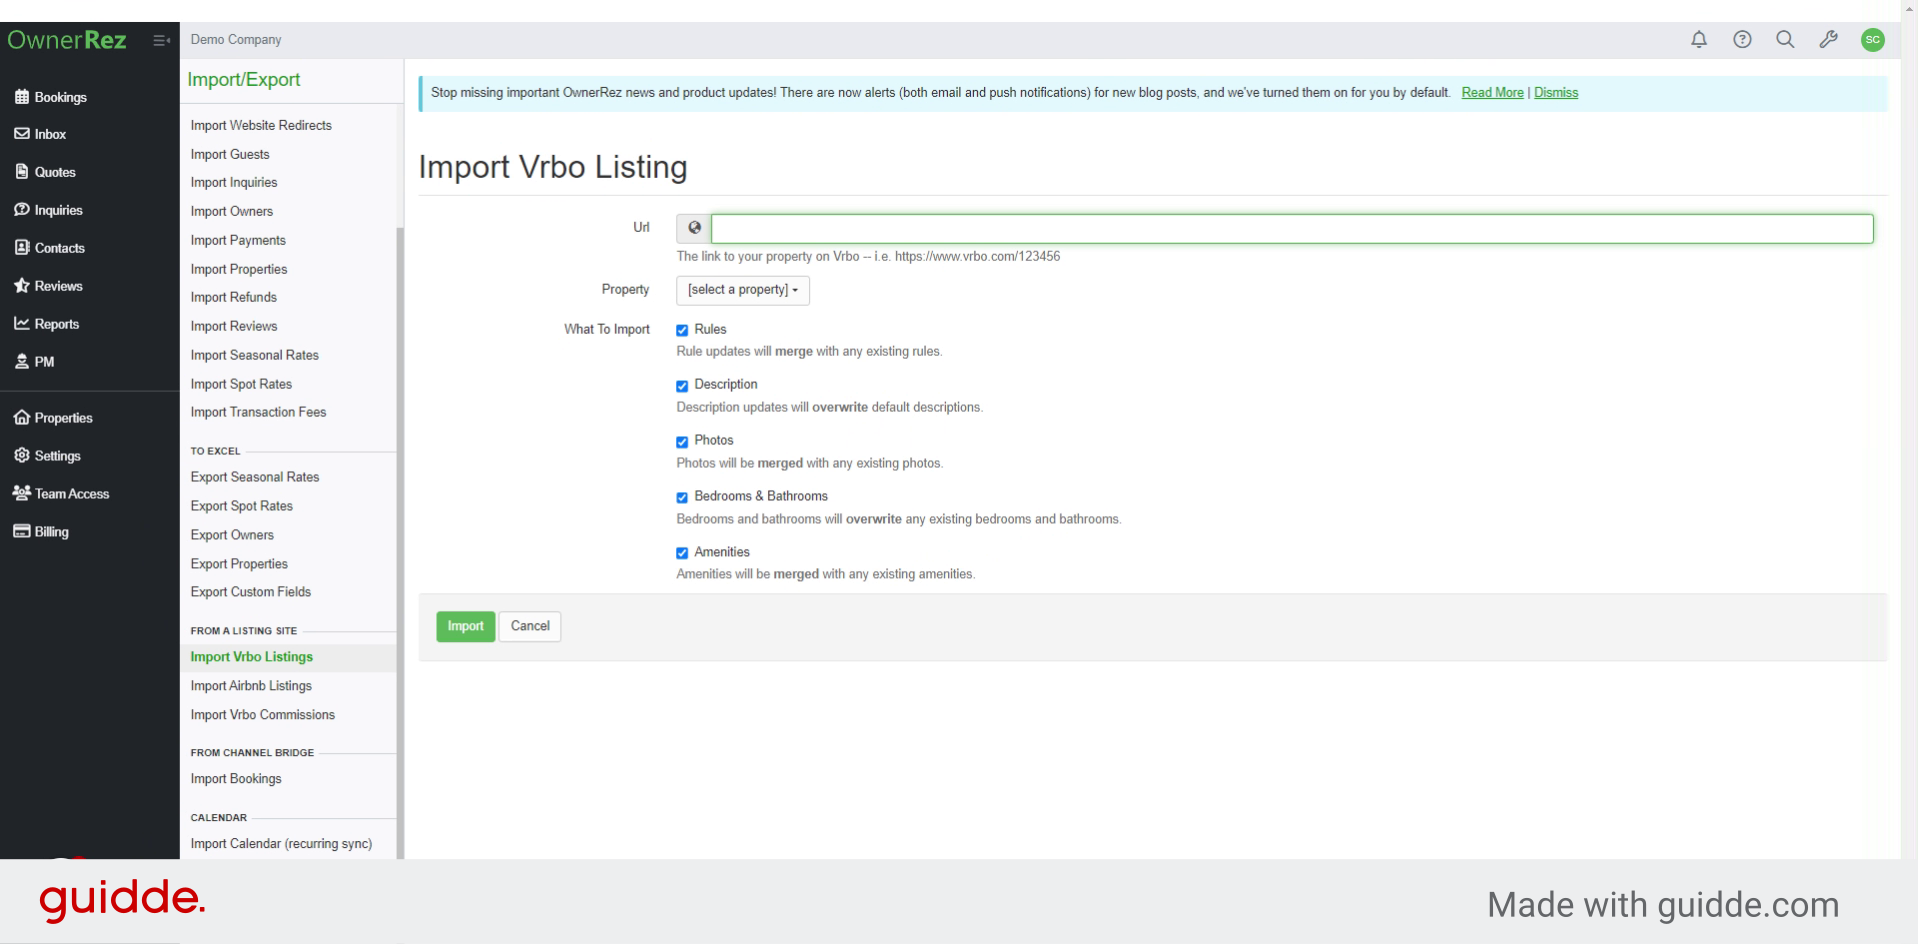
8. Click "Url"
Click on the "Url" field.
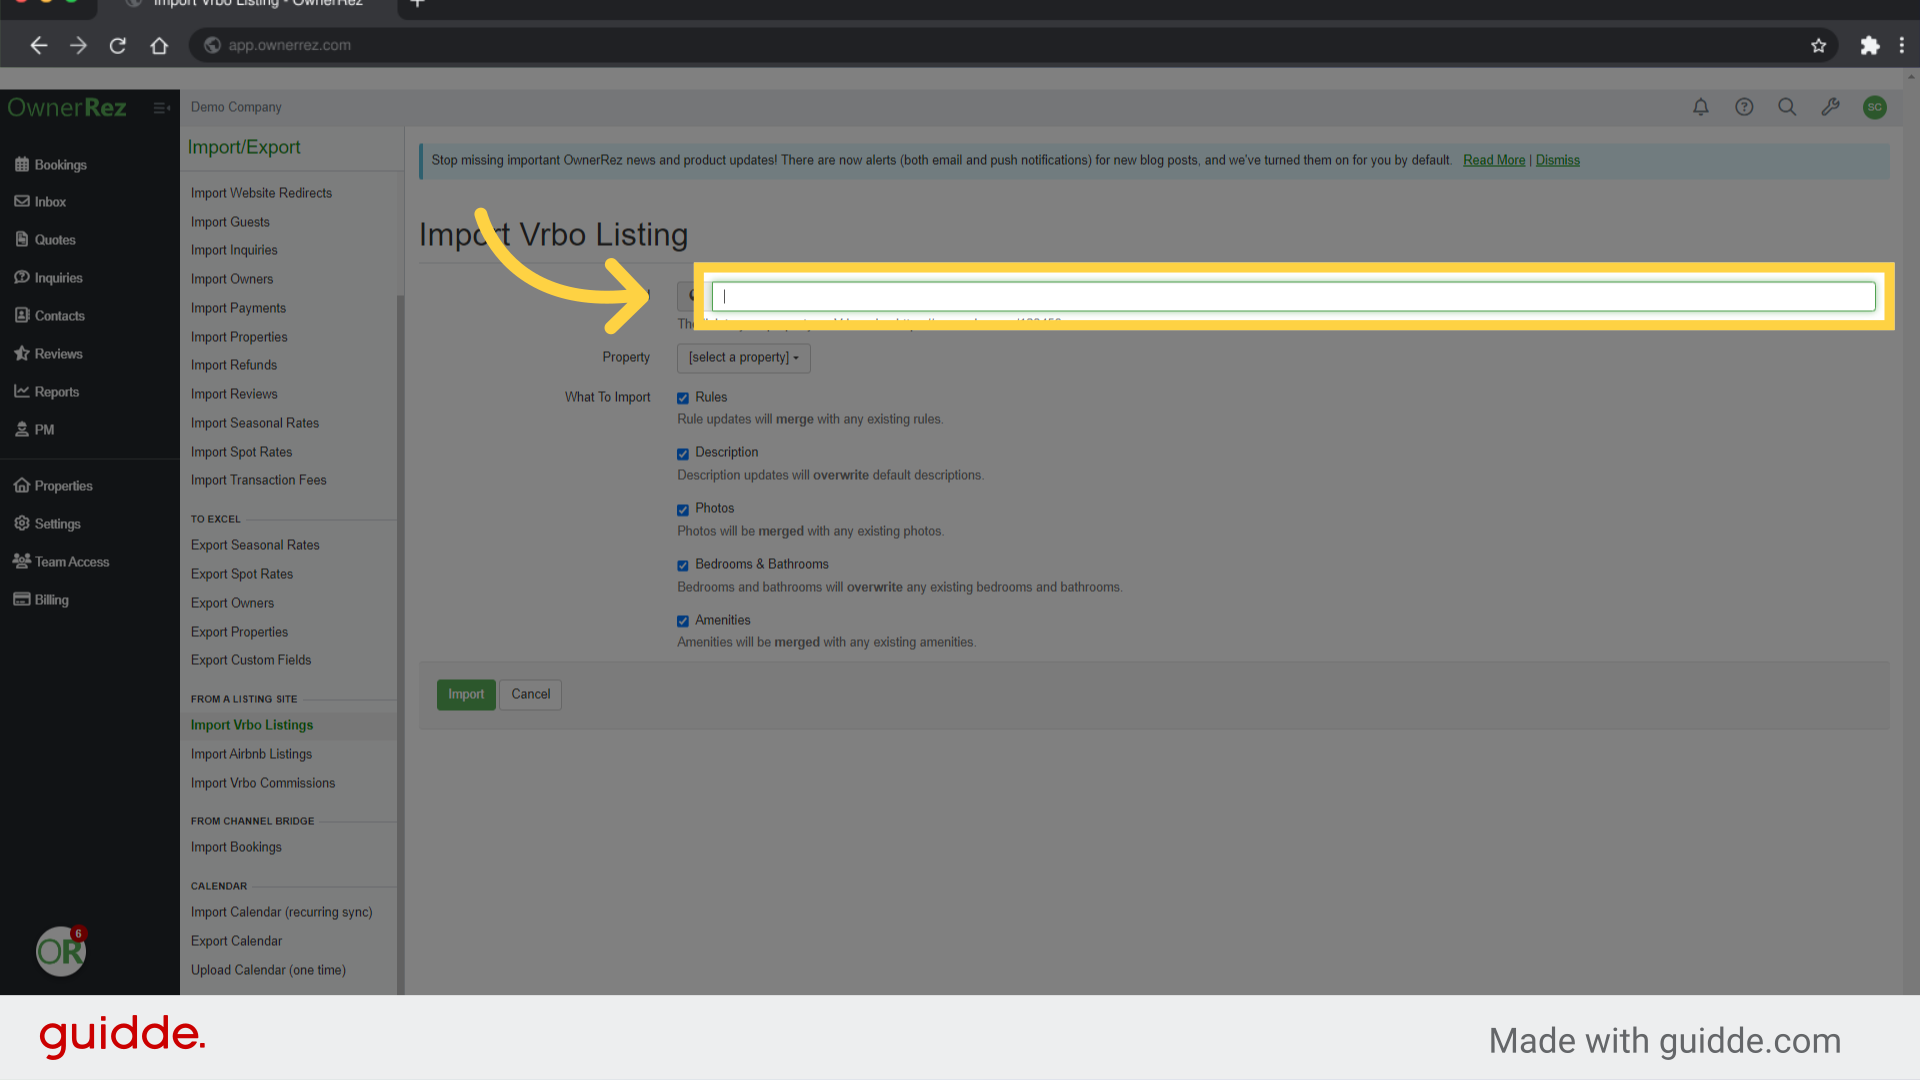
9. Fill "https://www.vrbo.com/2048513"
Fill in the text box with your VRBO Listing number. It should be formated like the example below the URL Box.
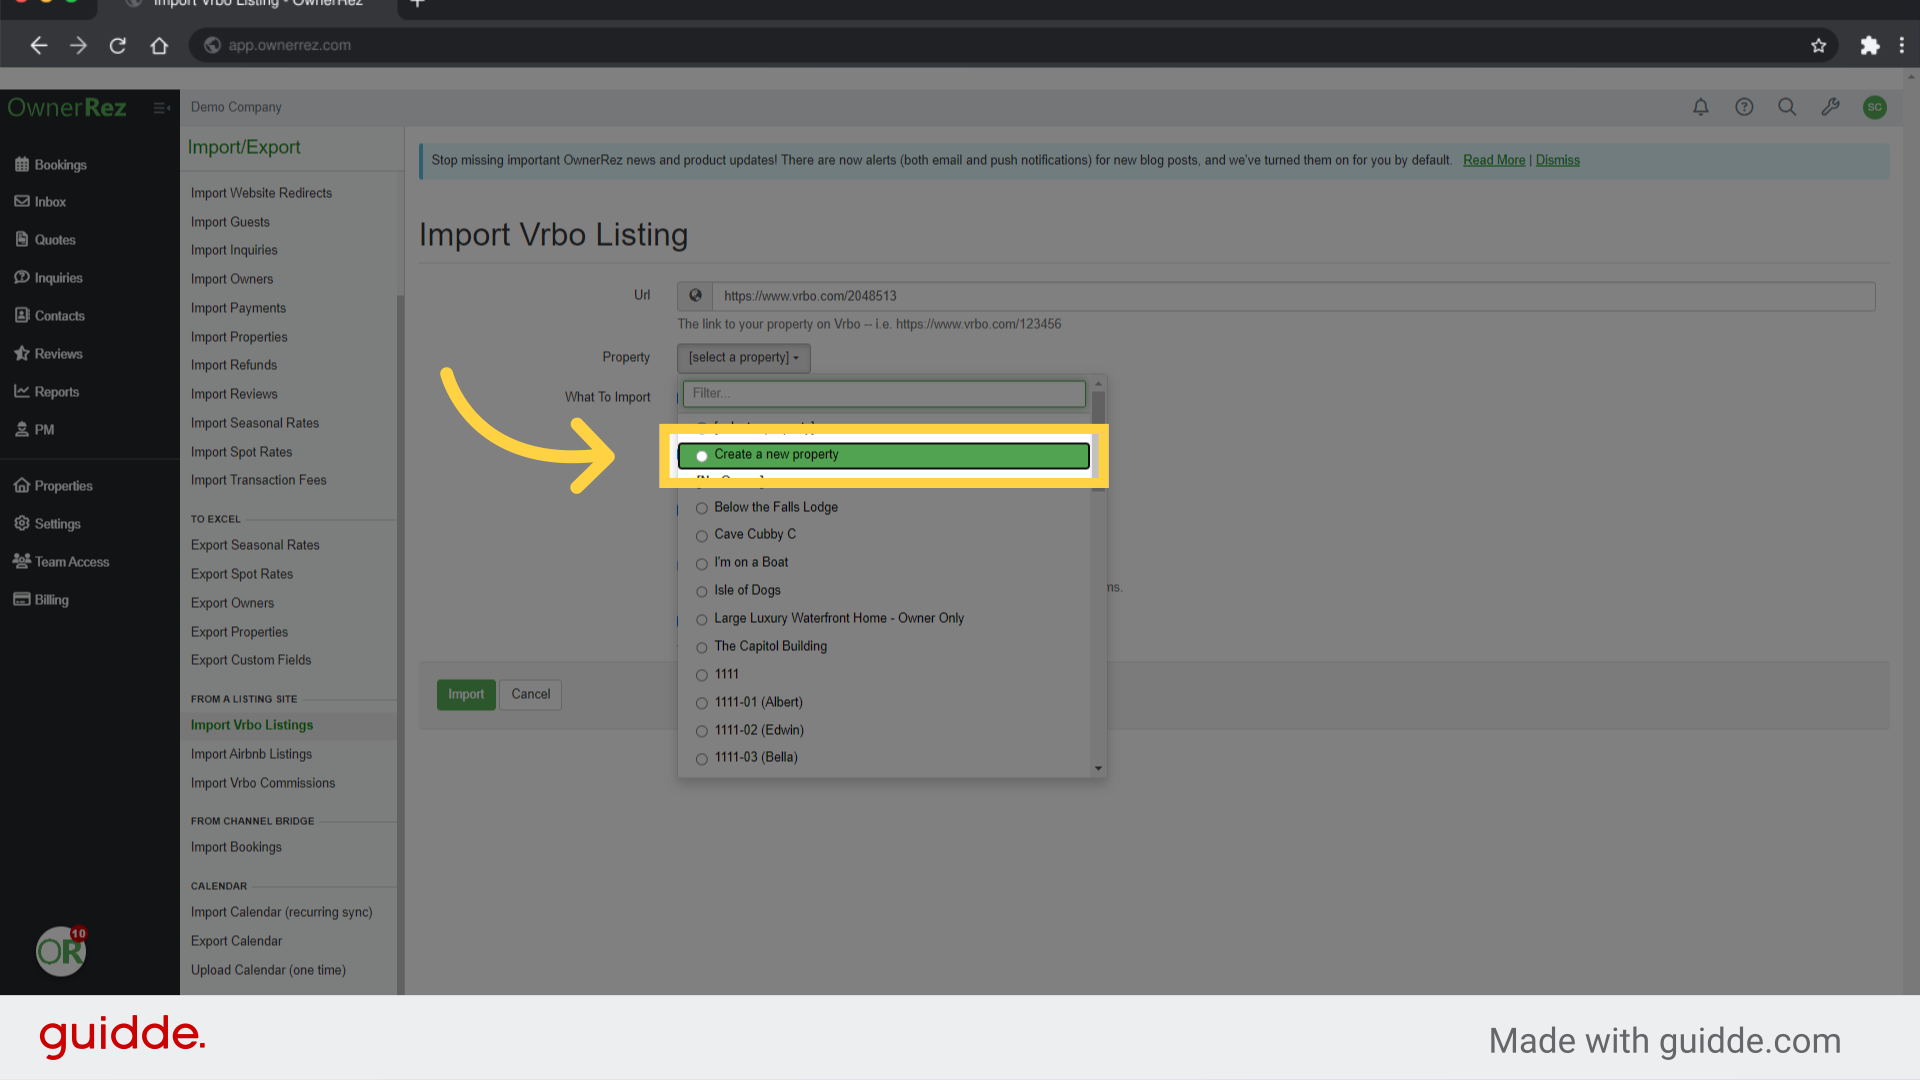
10. Click "[select a property]"
Choose a property from the list.
![Click '[select a property]'](https://static.guidde.com/v0/qg%2FgGT2v4k5JGRVfCHa9834zlxxnRq1%2Fk7x1194KpQ2HsZtsJHf1Cj%2FpdEYbXt6Hjv1Y3mk1FZNpb_doc.png?alt=media&token=e99f0768-e401-495a-a686-979d64a52b1d)
11. Click "Create a new property"
For our example we will choose to create a new property. You could also select an existing property from the list.
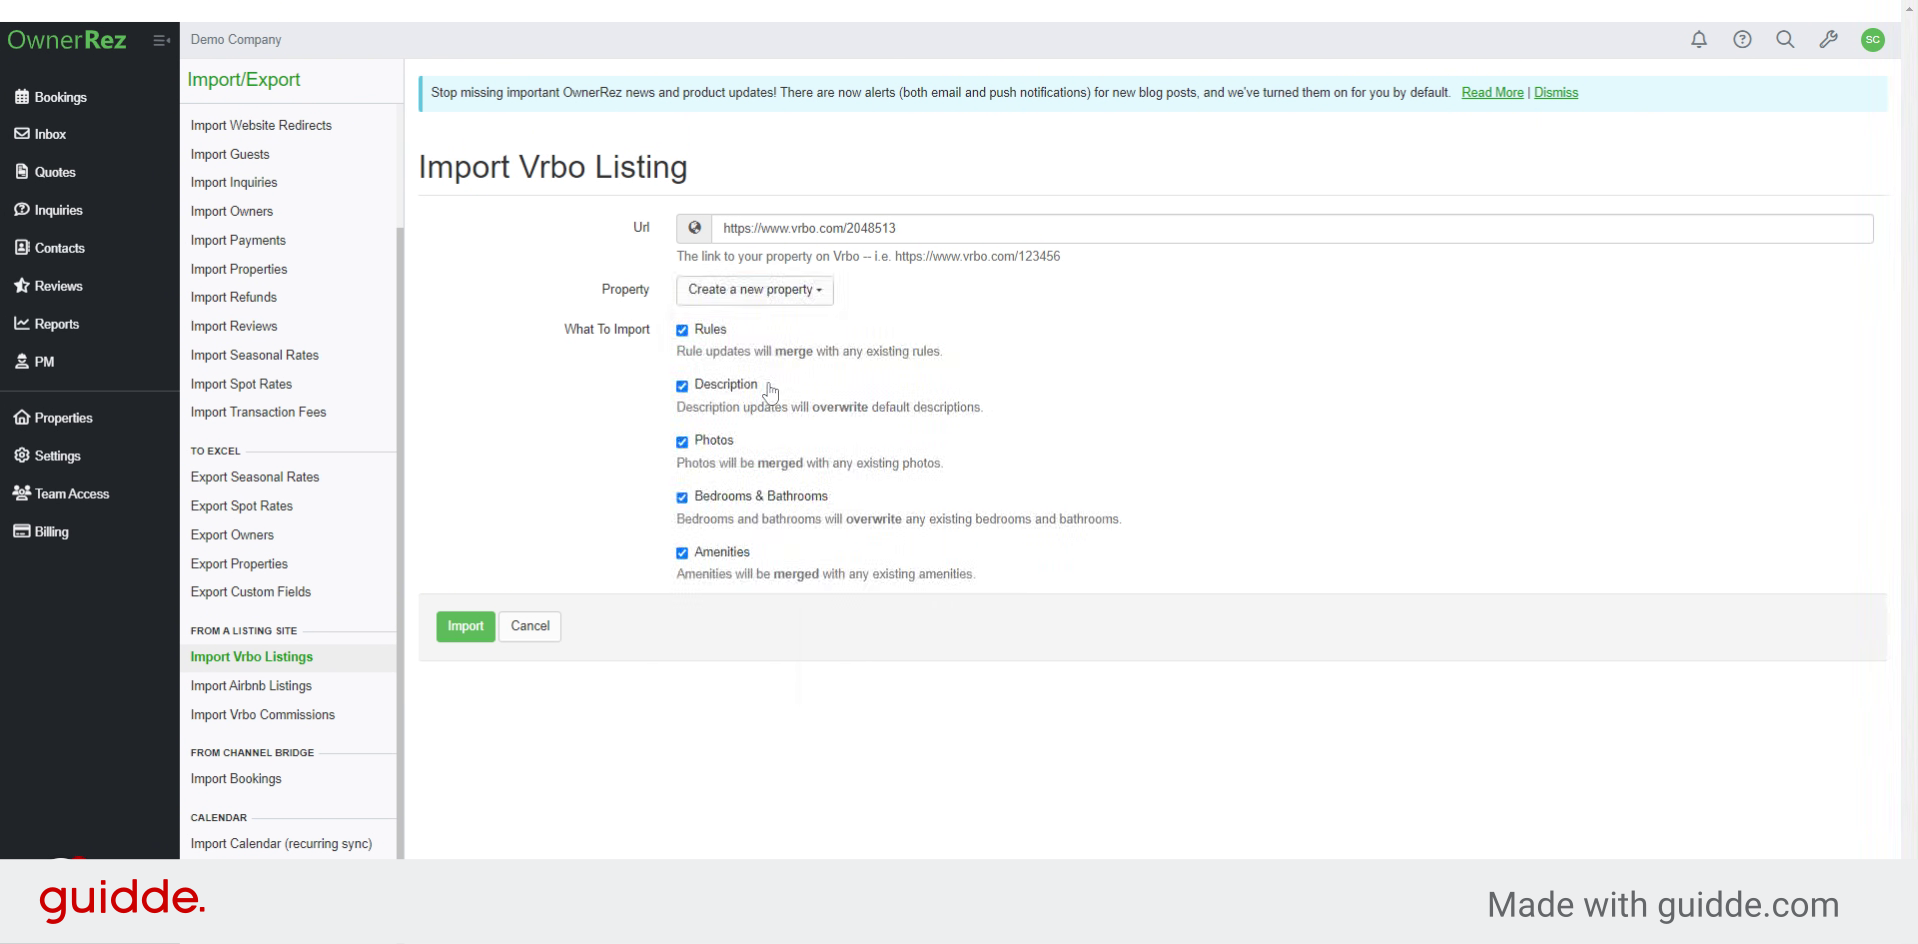
12. Select options
The system will add all content categories by default. If you would like to exclude an option, you would uncheck a box. For example if you wanted to upload higher quality photos instead of downloading them you would uncheck photos from the import.
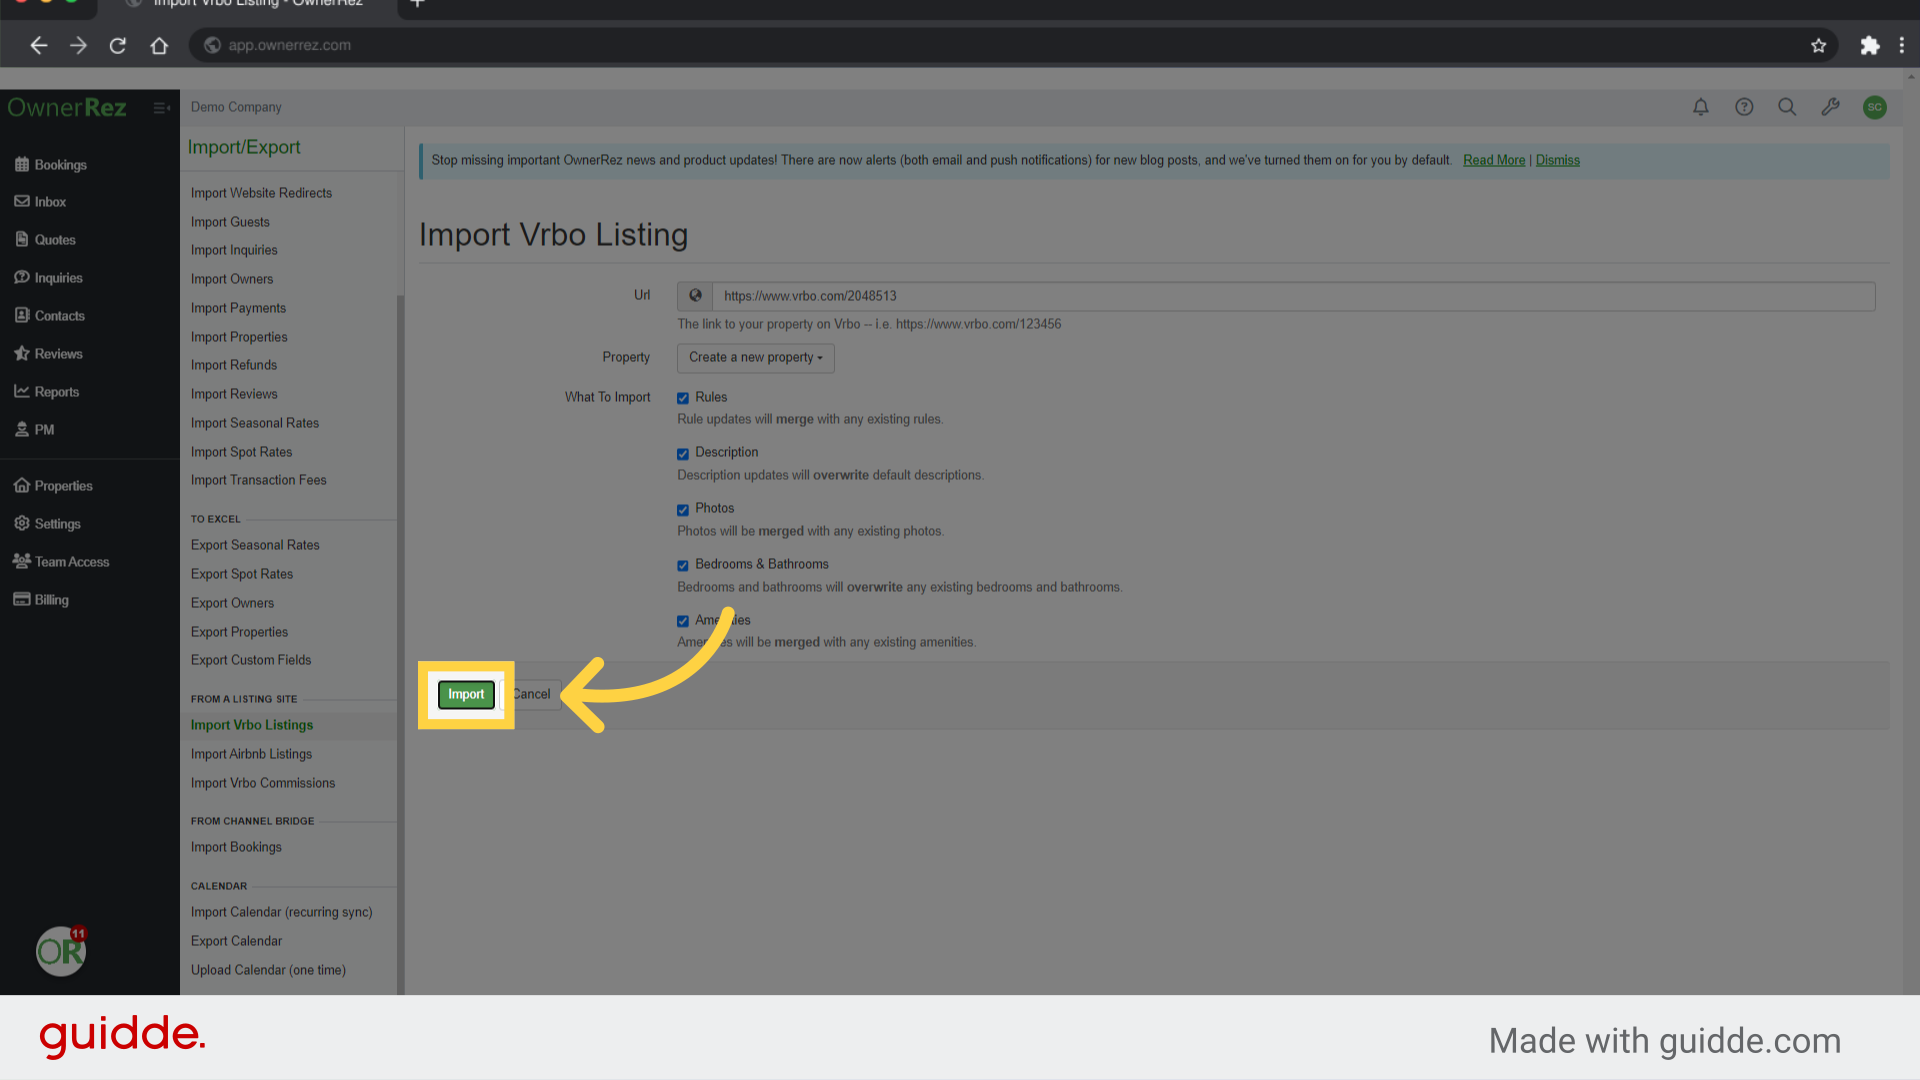
13. Click "Import"
Start the import process.
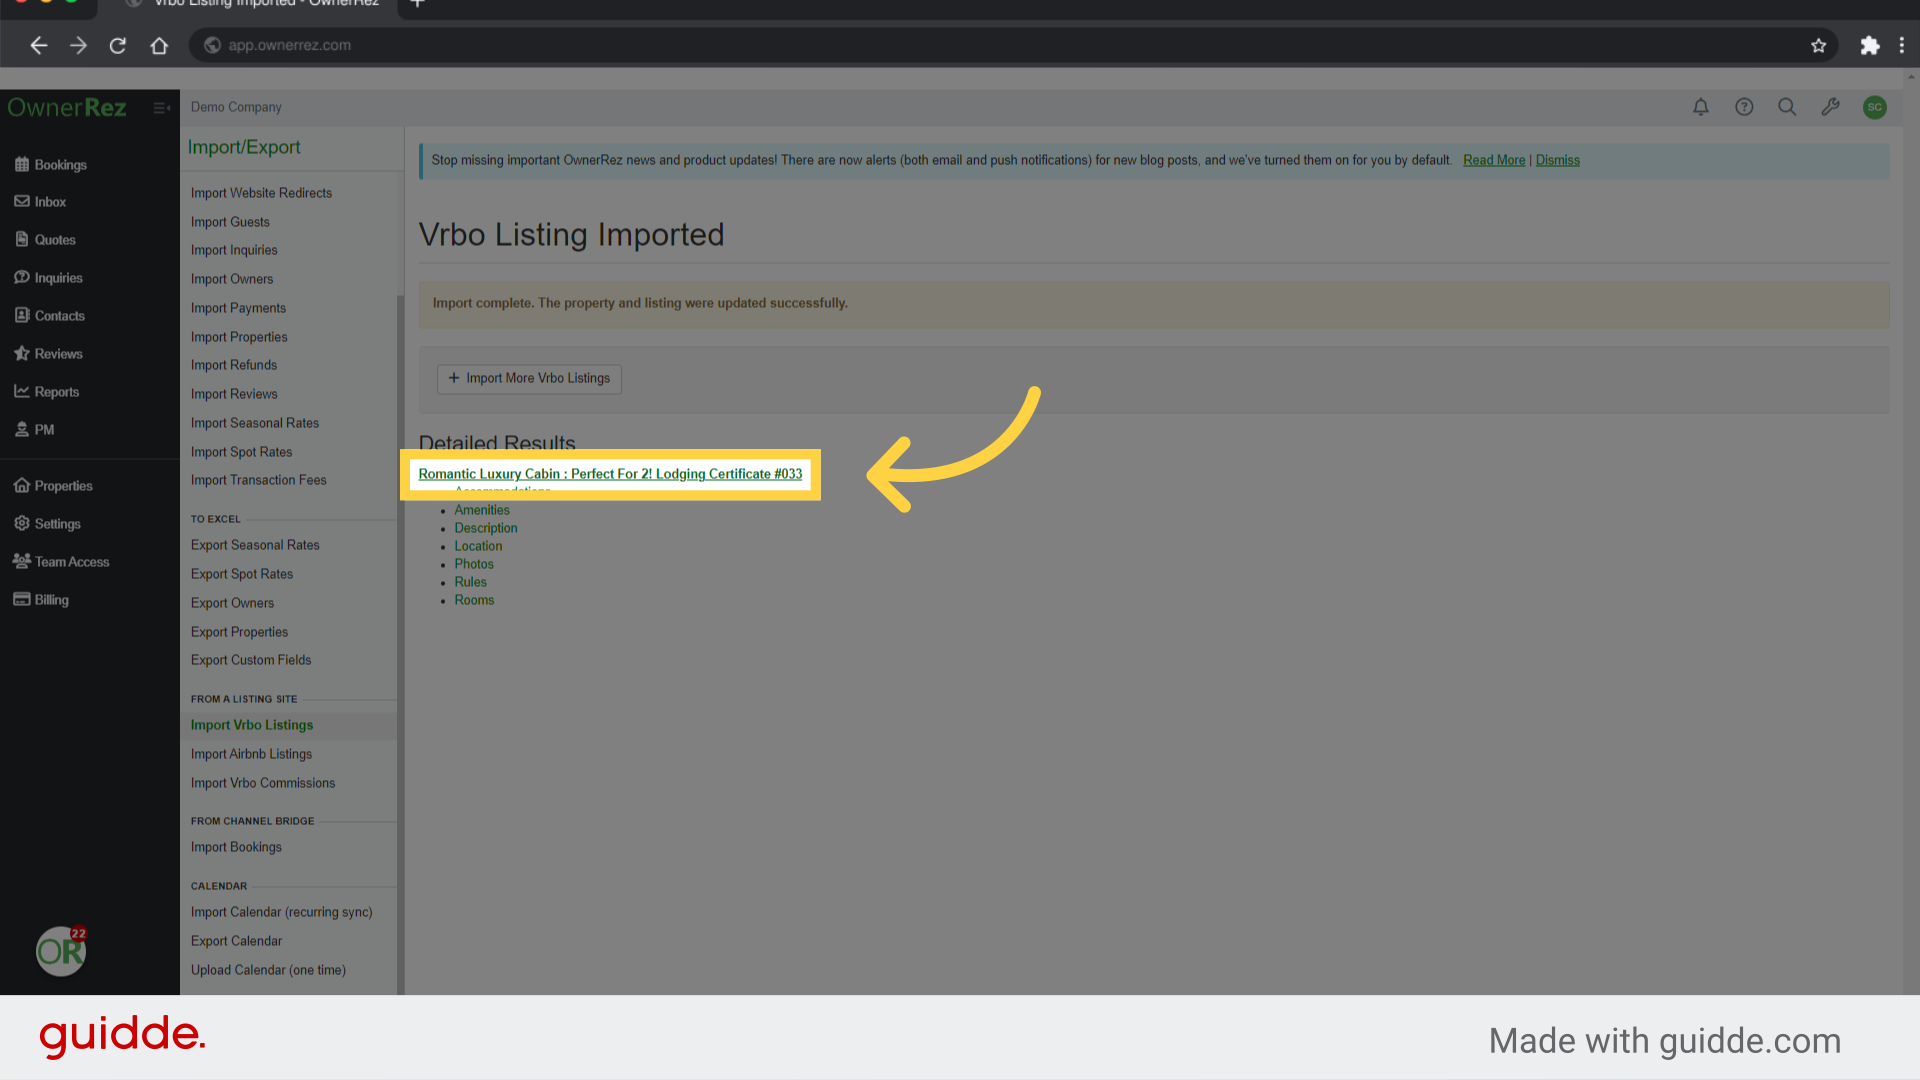
14. Click "Romantic Luxury Cabin : Perfect For 2! Lodging Certificate #033"
If the import is successful you will see this screen. Click the property name to go to the new Properties Overview screen
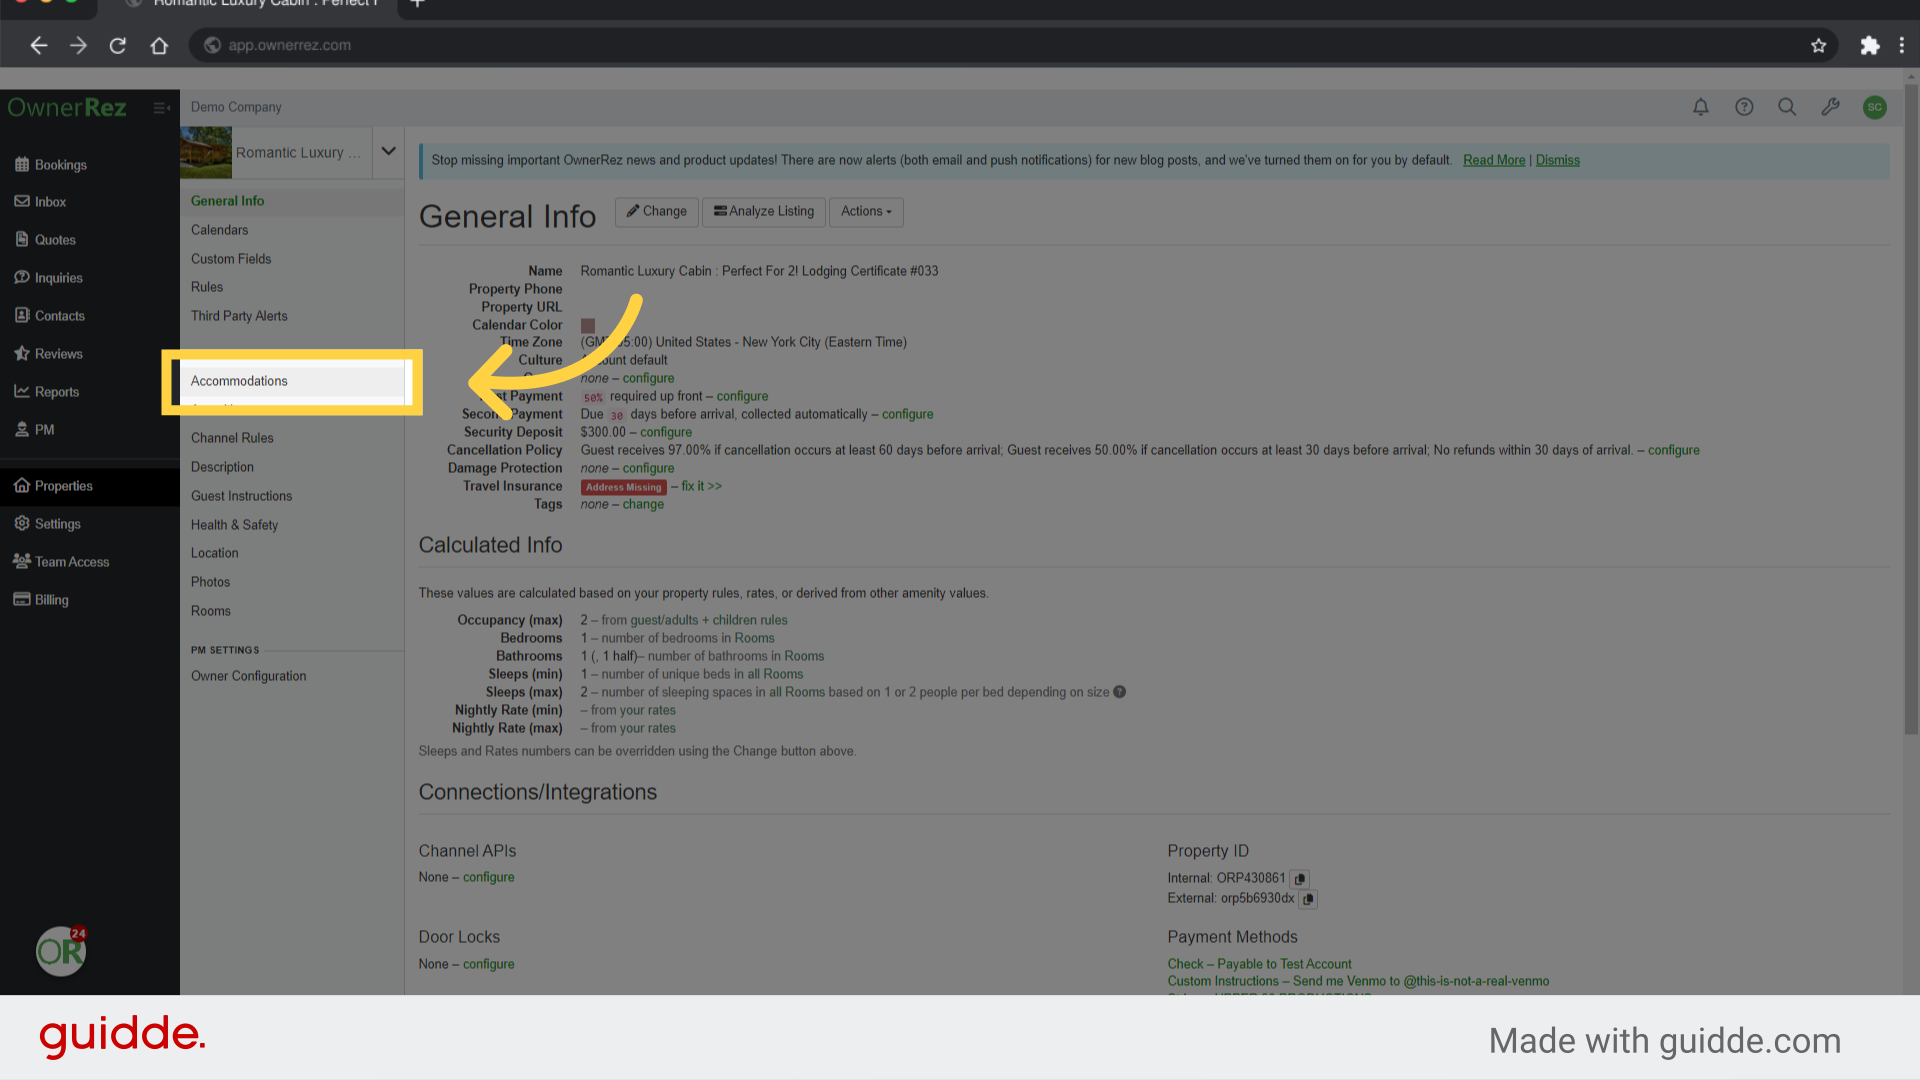
15. Click "Accommodations"
Even though much of the information was imported in. Our Import Process can only bring in what is publically available on the listing site. We recommend looking at each page of the Listing content to see if anything else can be added. Start with Accomodations
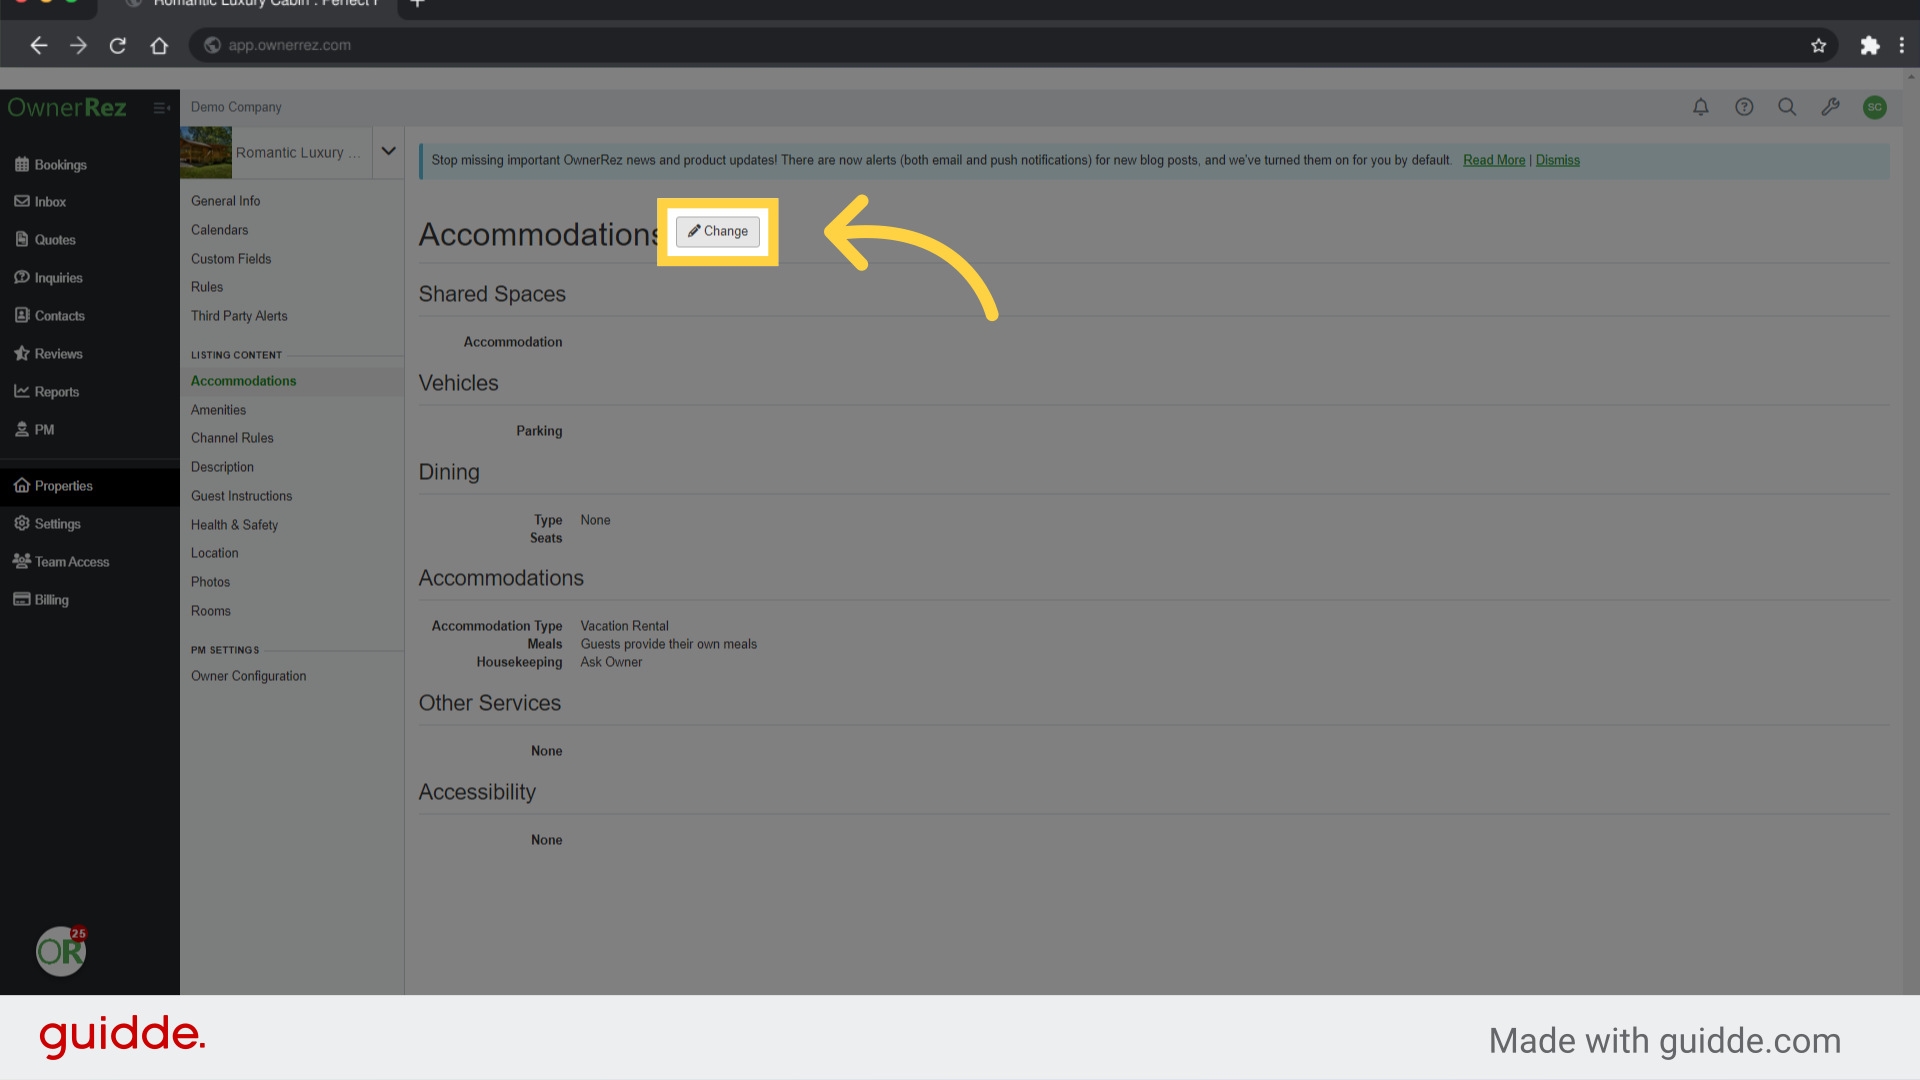
16. Click "Change"
Each page of the listing content will show you an overview. Click Change to see all options available to be edited
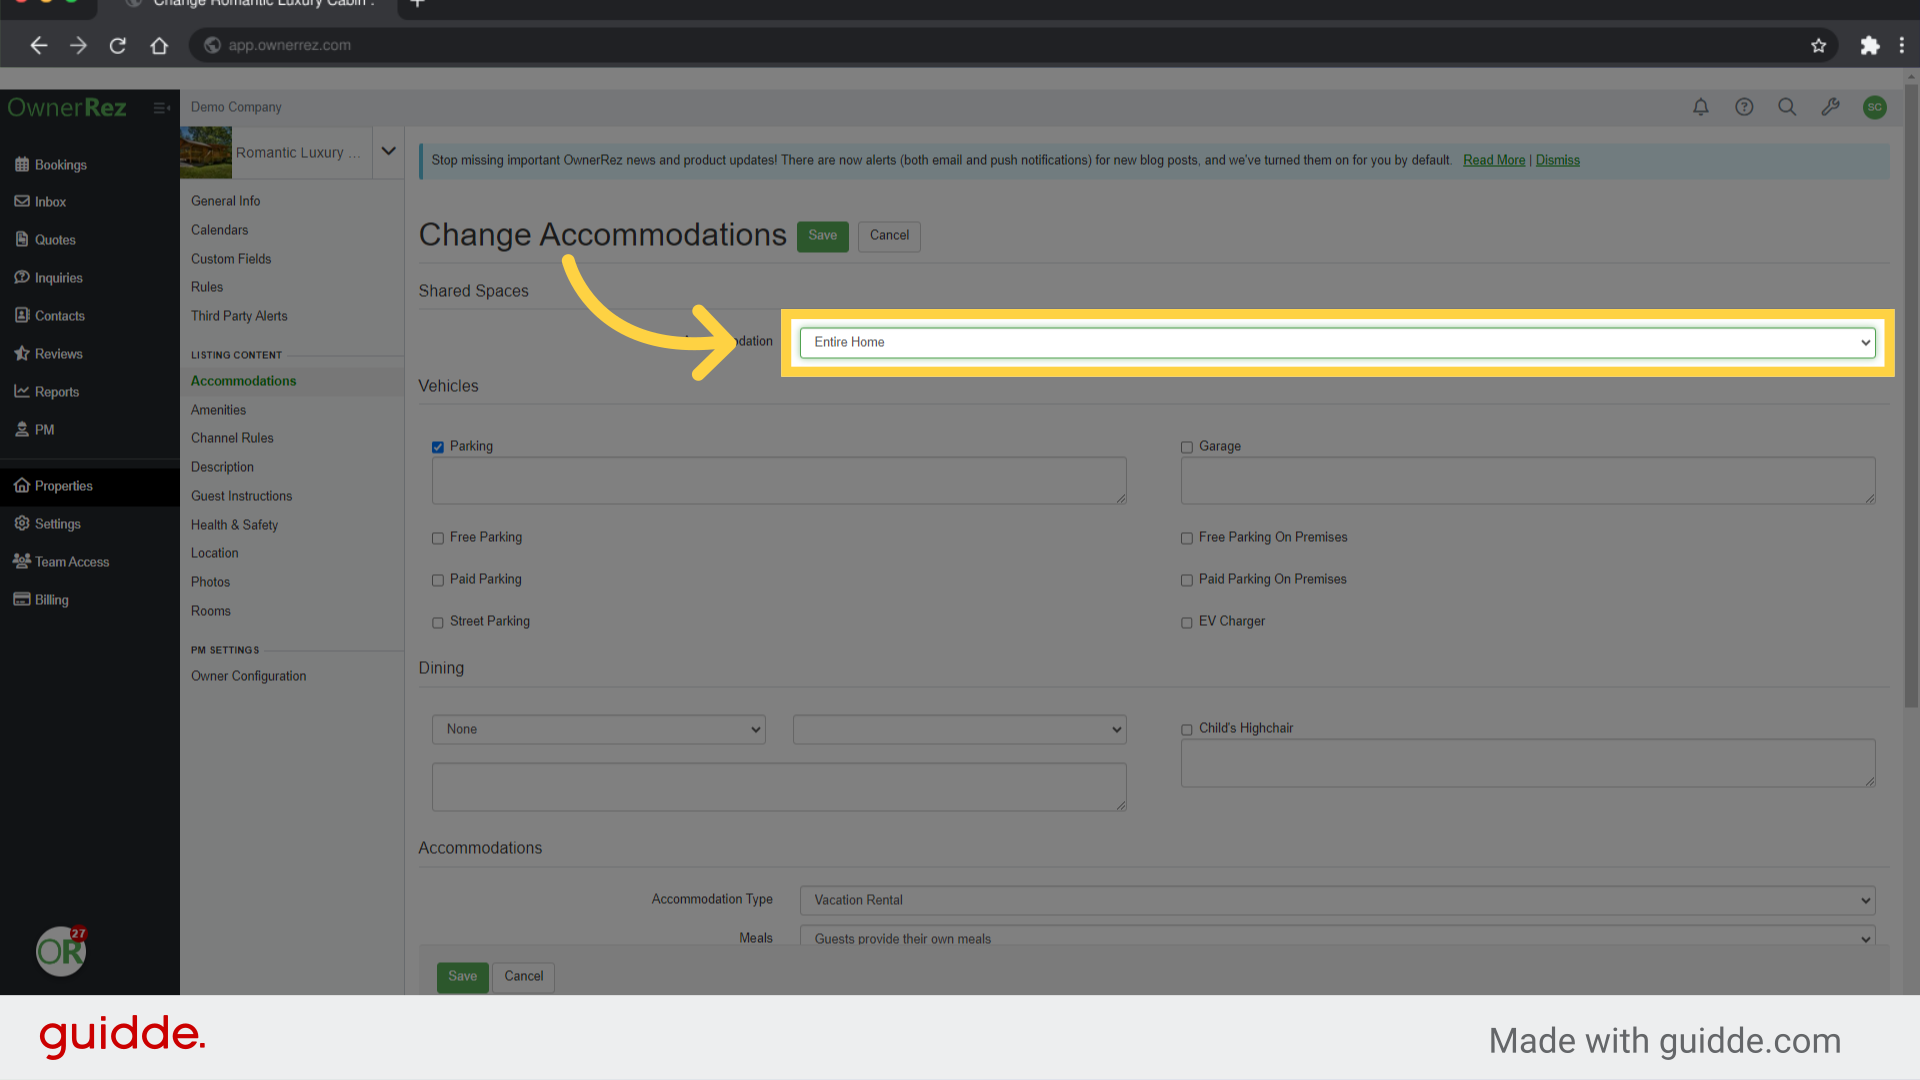
17. Click "Accomodation Type"
Here is an example of a field that was not imported. Chose the field and whether this is an Entire Home, Private Room, or Shared Space.
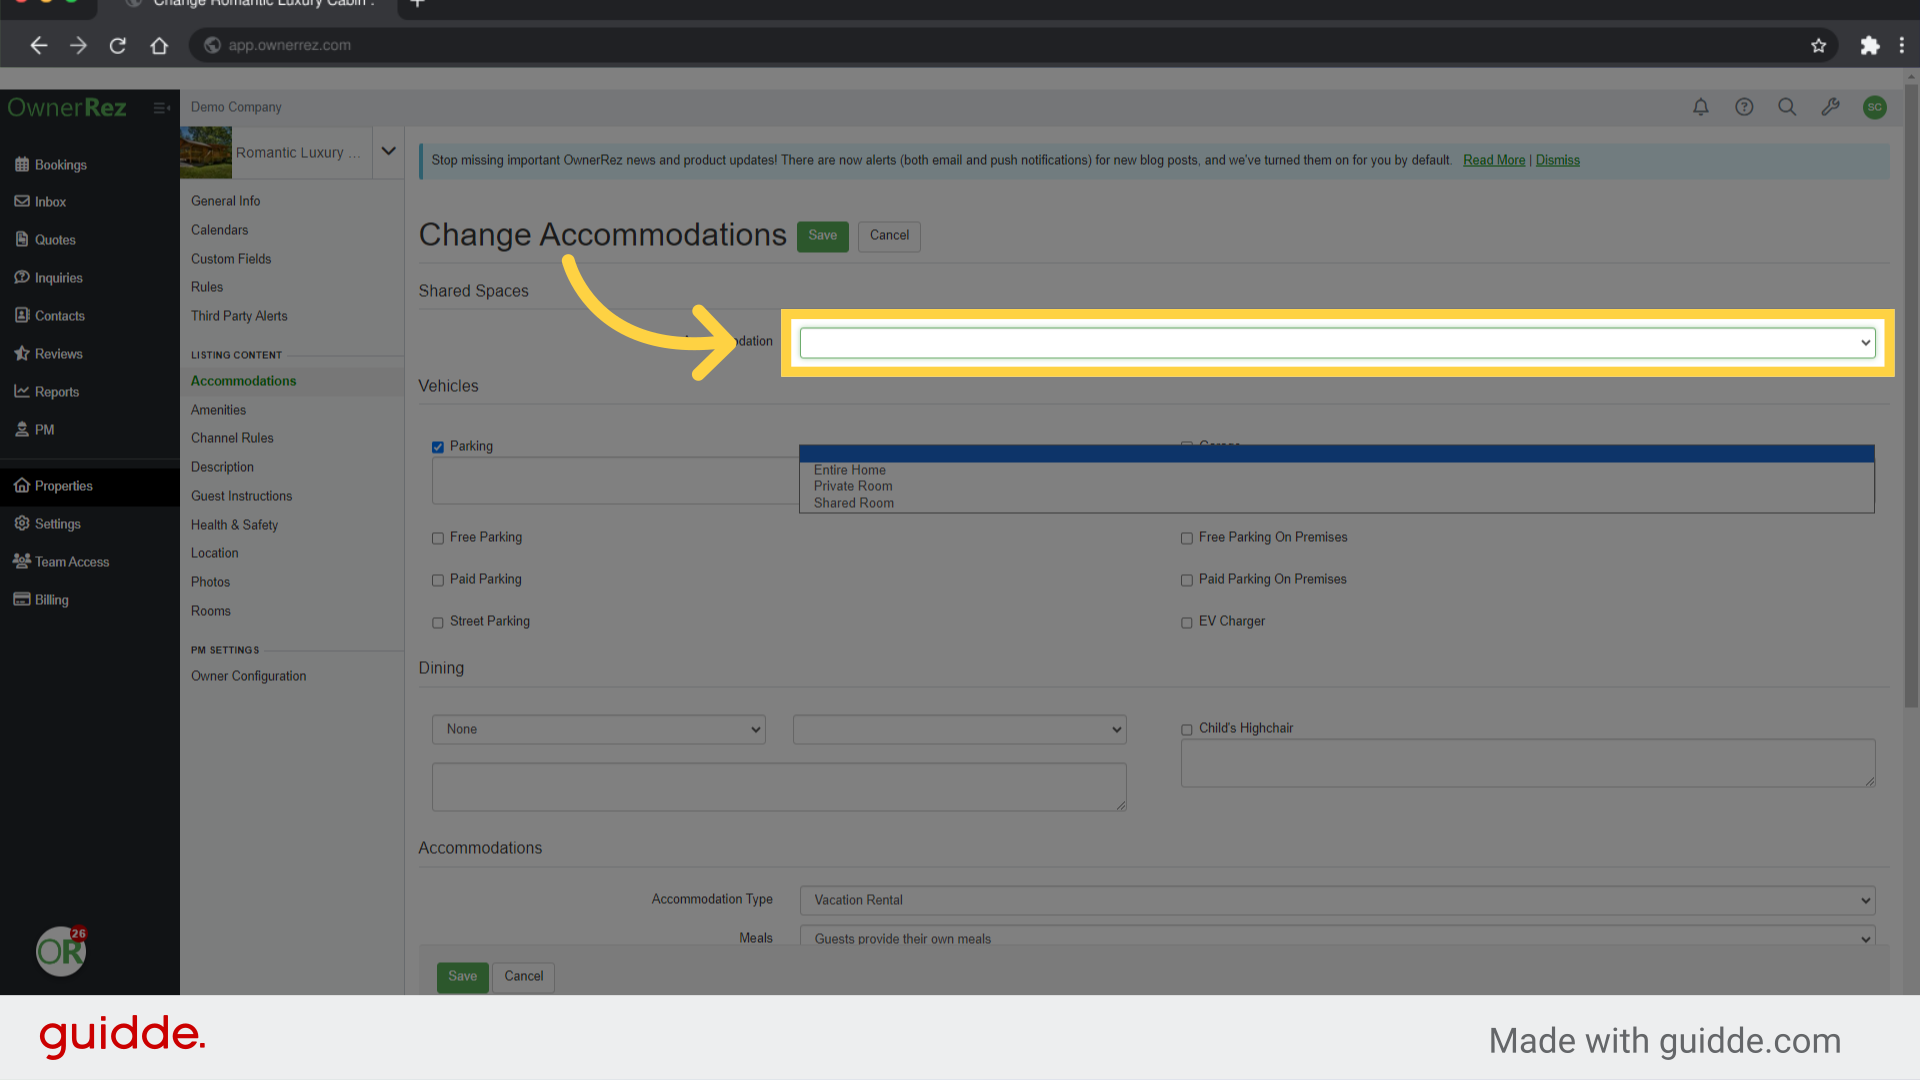
18. Fill "Entire HomePrivate RoomShared Room"
Specify the accommodation type.
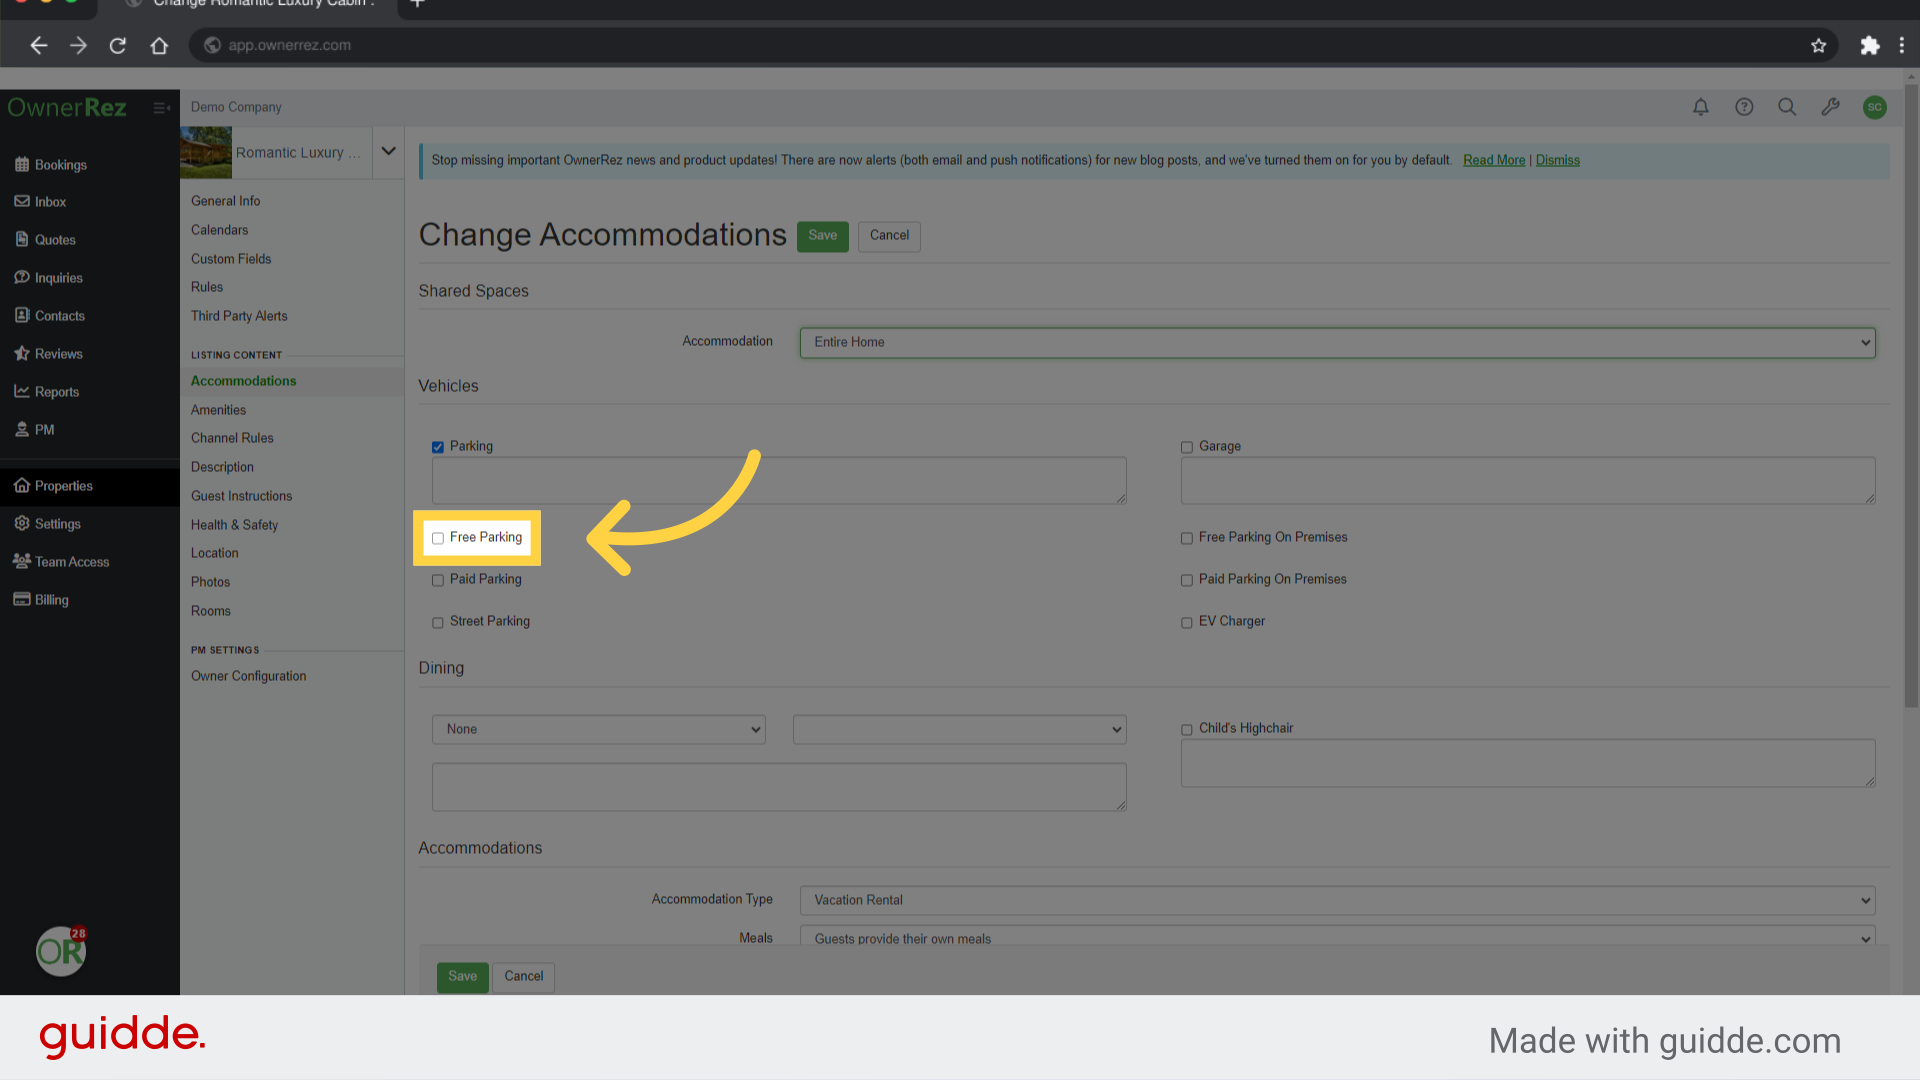
19. Click "Free Parking"
Select the option for free parking.
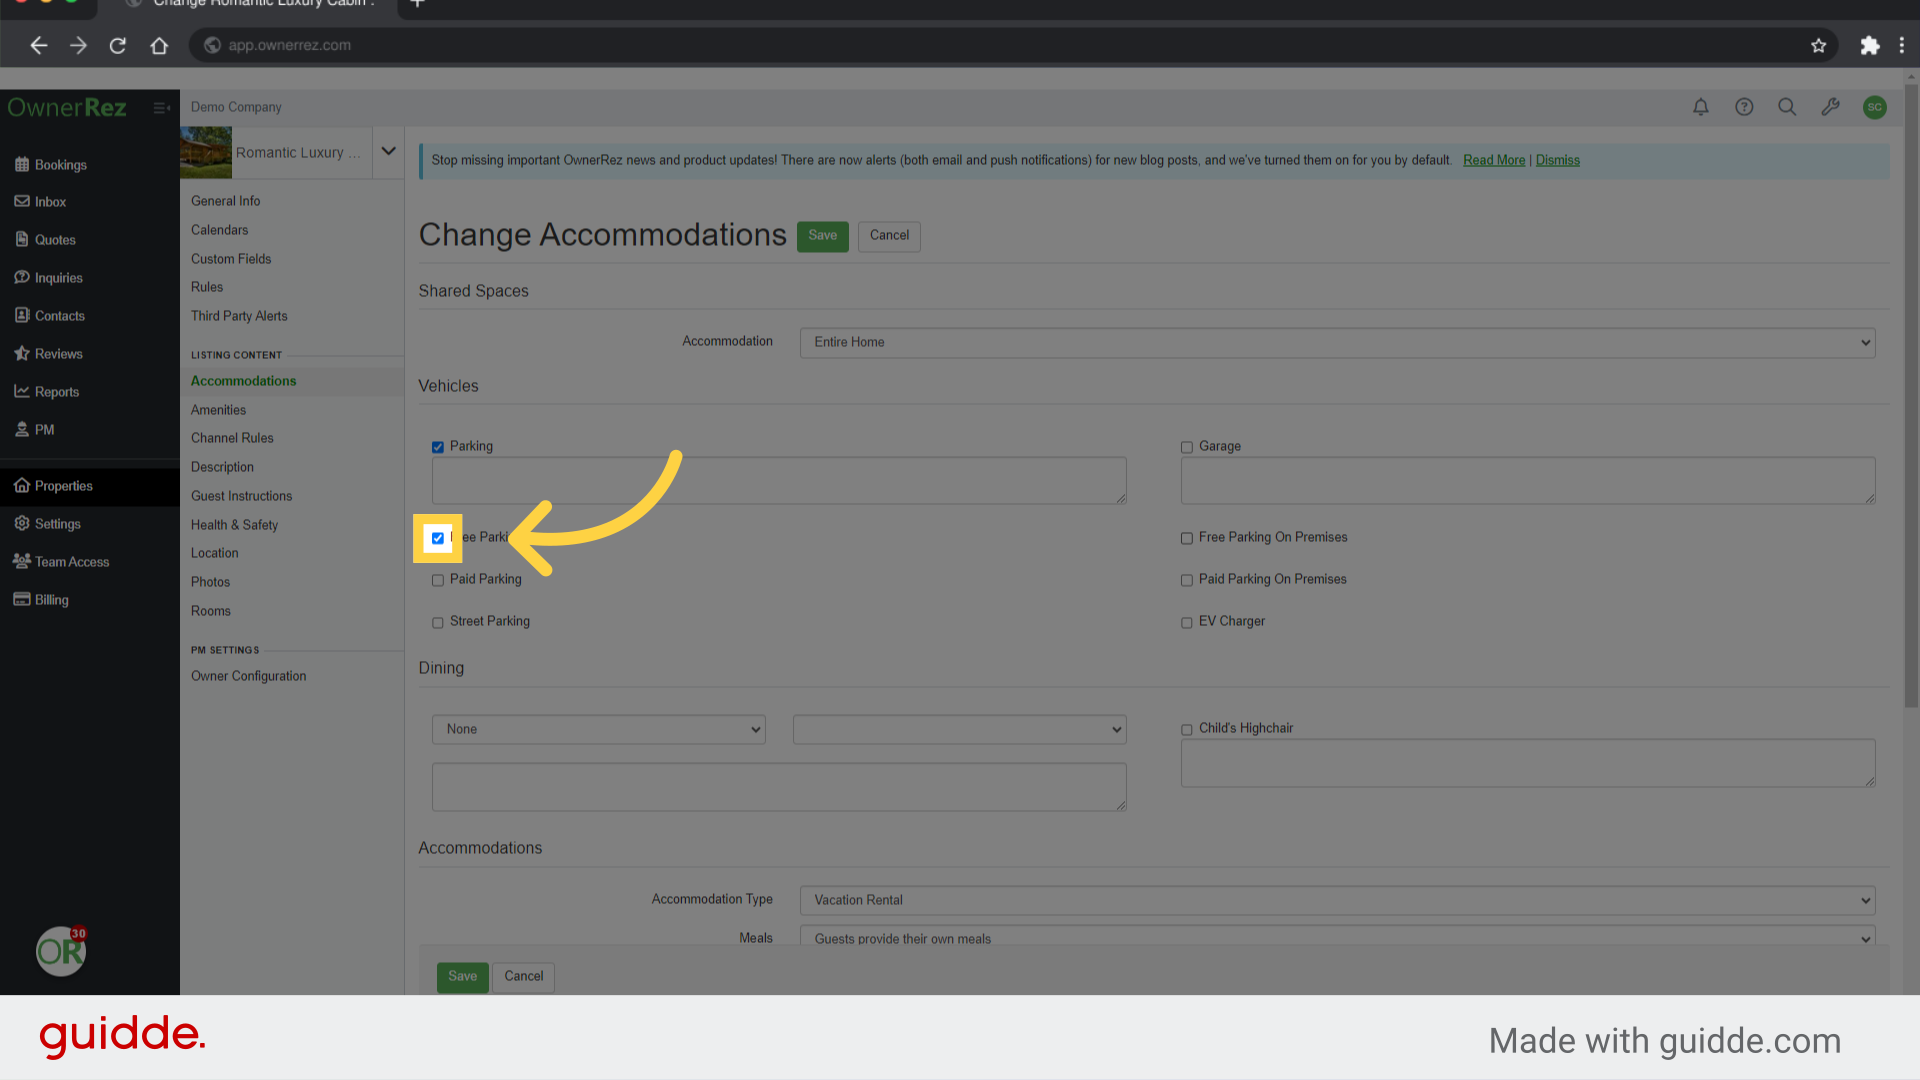
20. Fill "true"
Continue down the form, checking any additional boxes that may apply to your listing
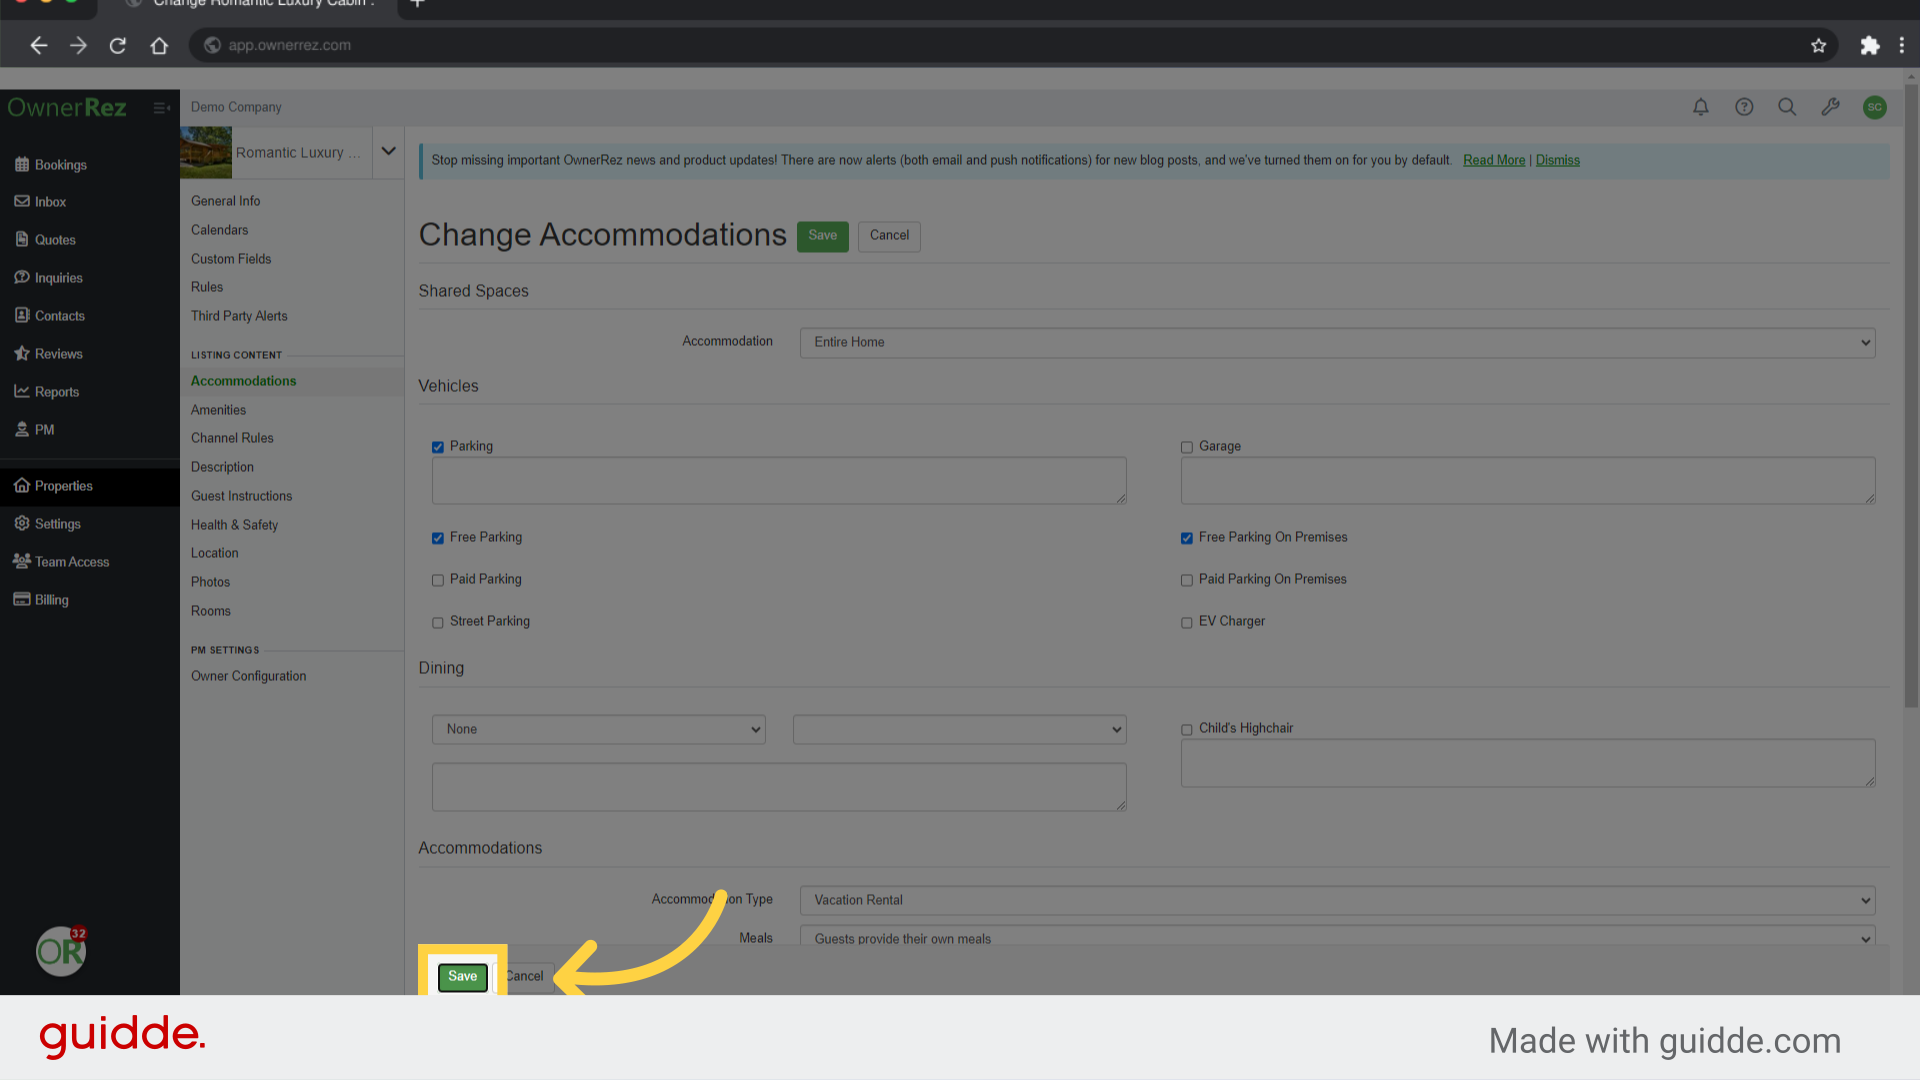
21. Click "Free Parking On Premises"
Listing Channels use these options to allow your listings to better show in their search algorithms. So take your time and be as complete as possible

22. Click "Save"
Save the changes made.
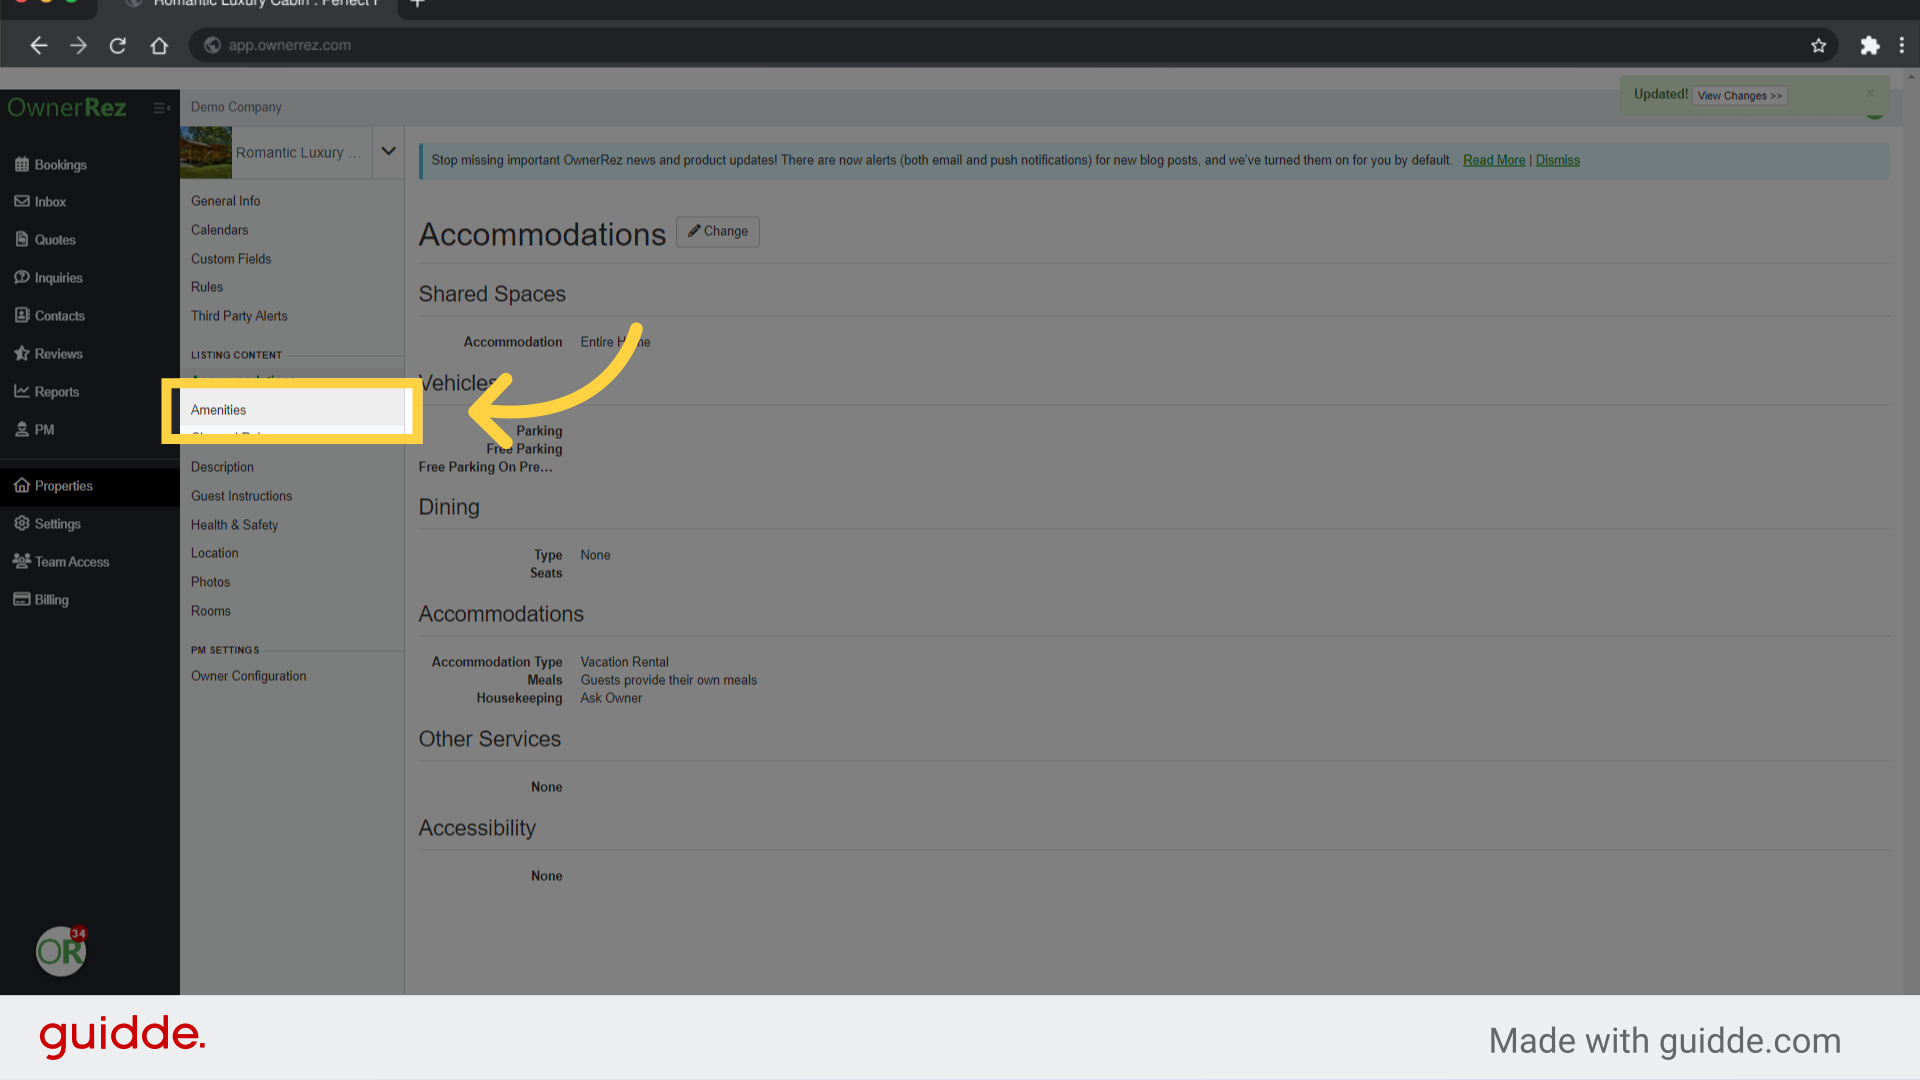
23. Click "Amenities"
When the Accomodations section is complete Navigate to the next section in the list, amenities.
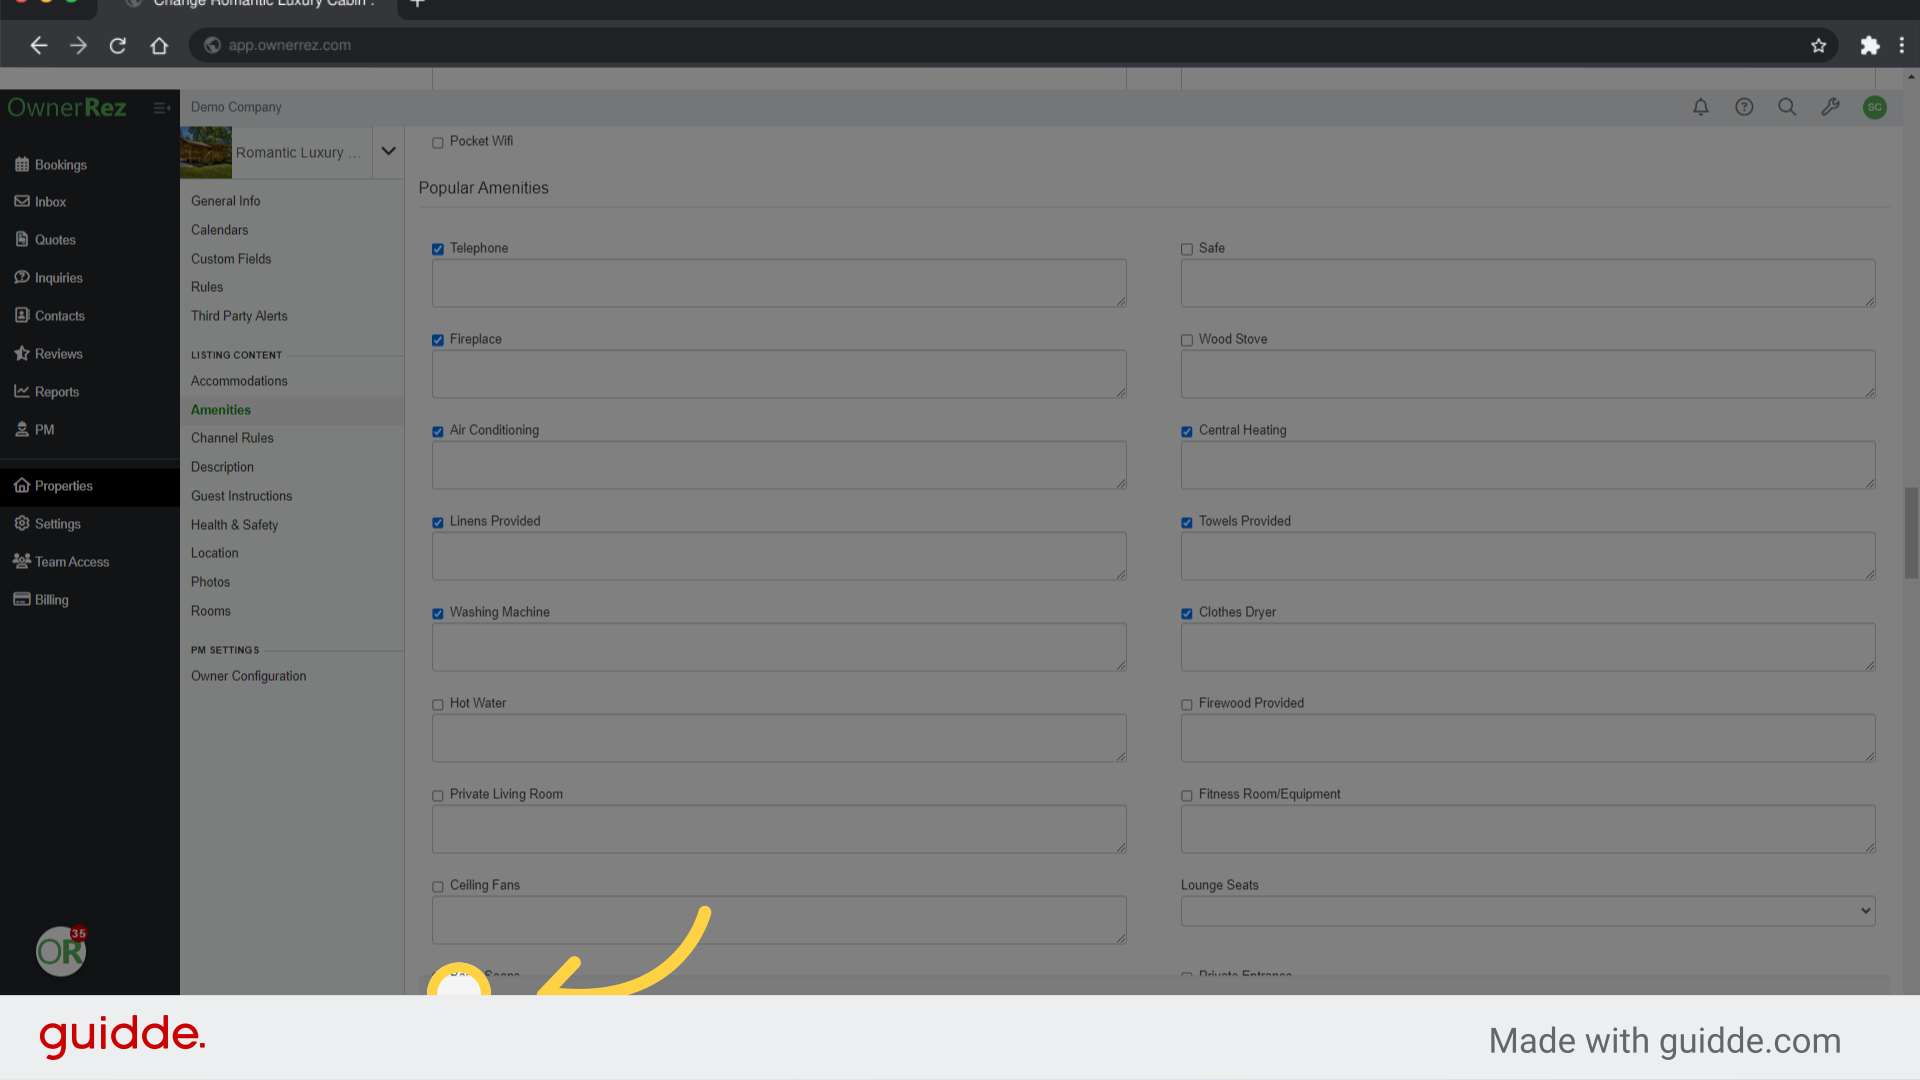
24. Click "Save Cancel"
Once again make any changes needed and click Save
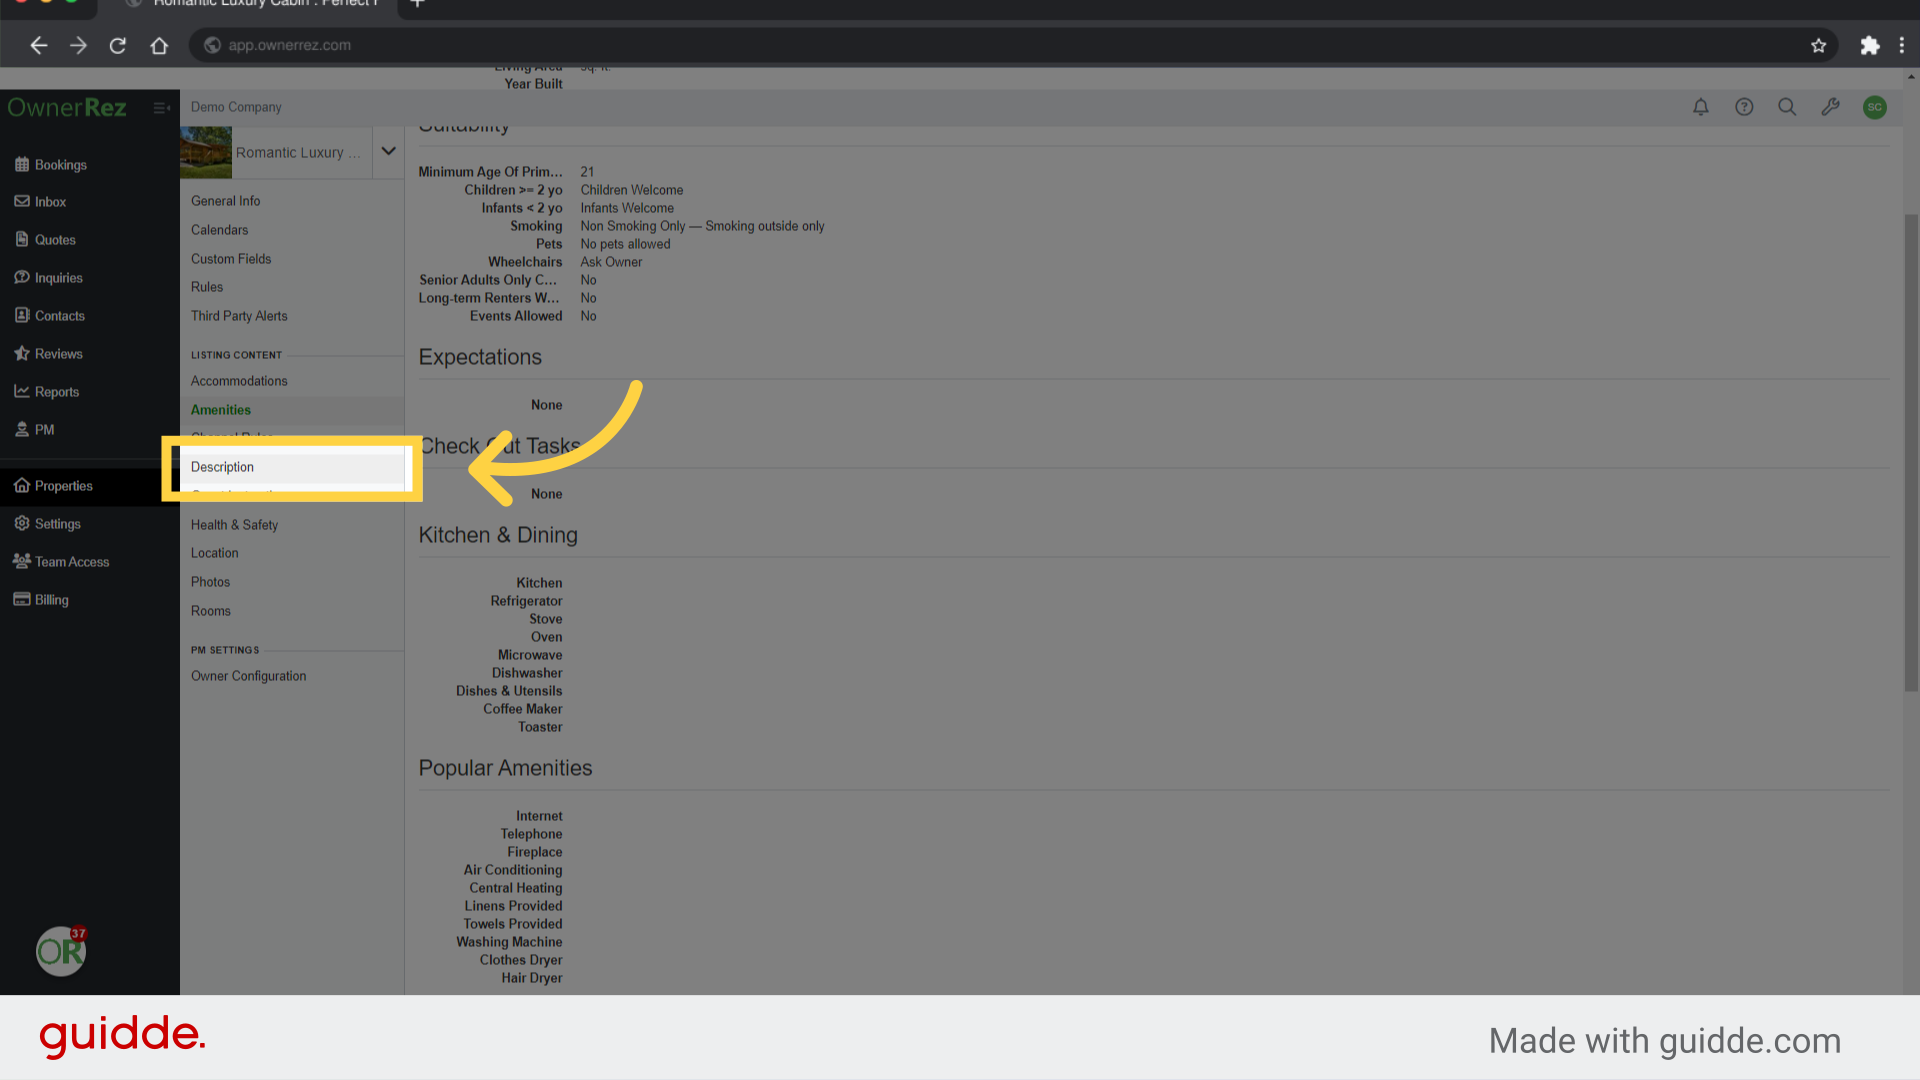
25. Click "Description"
Continue to each section. Next is Descriptions.
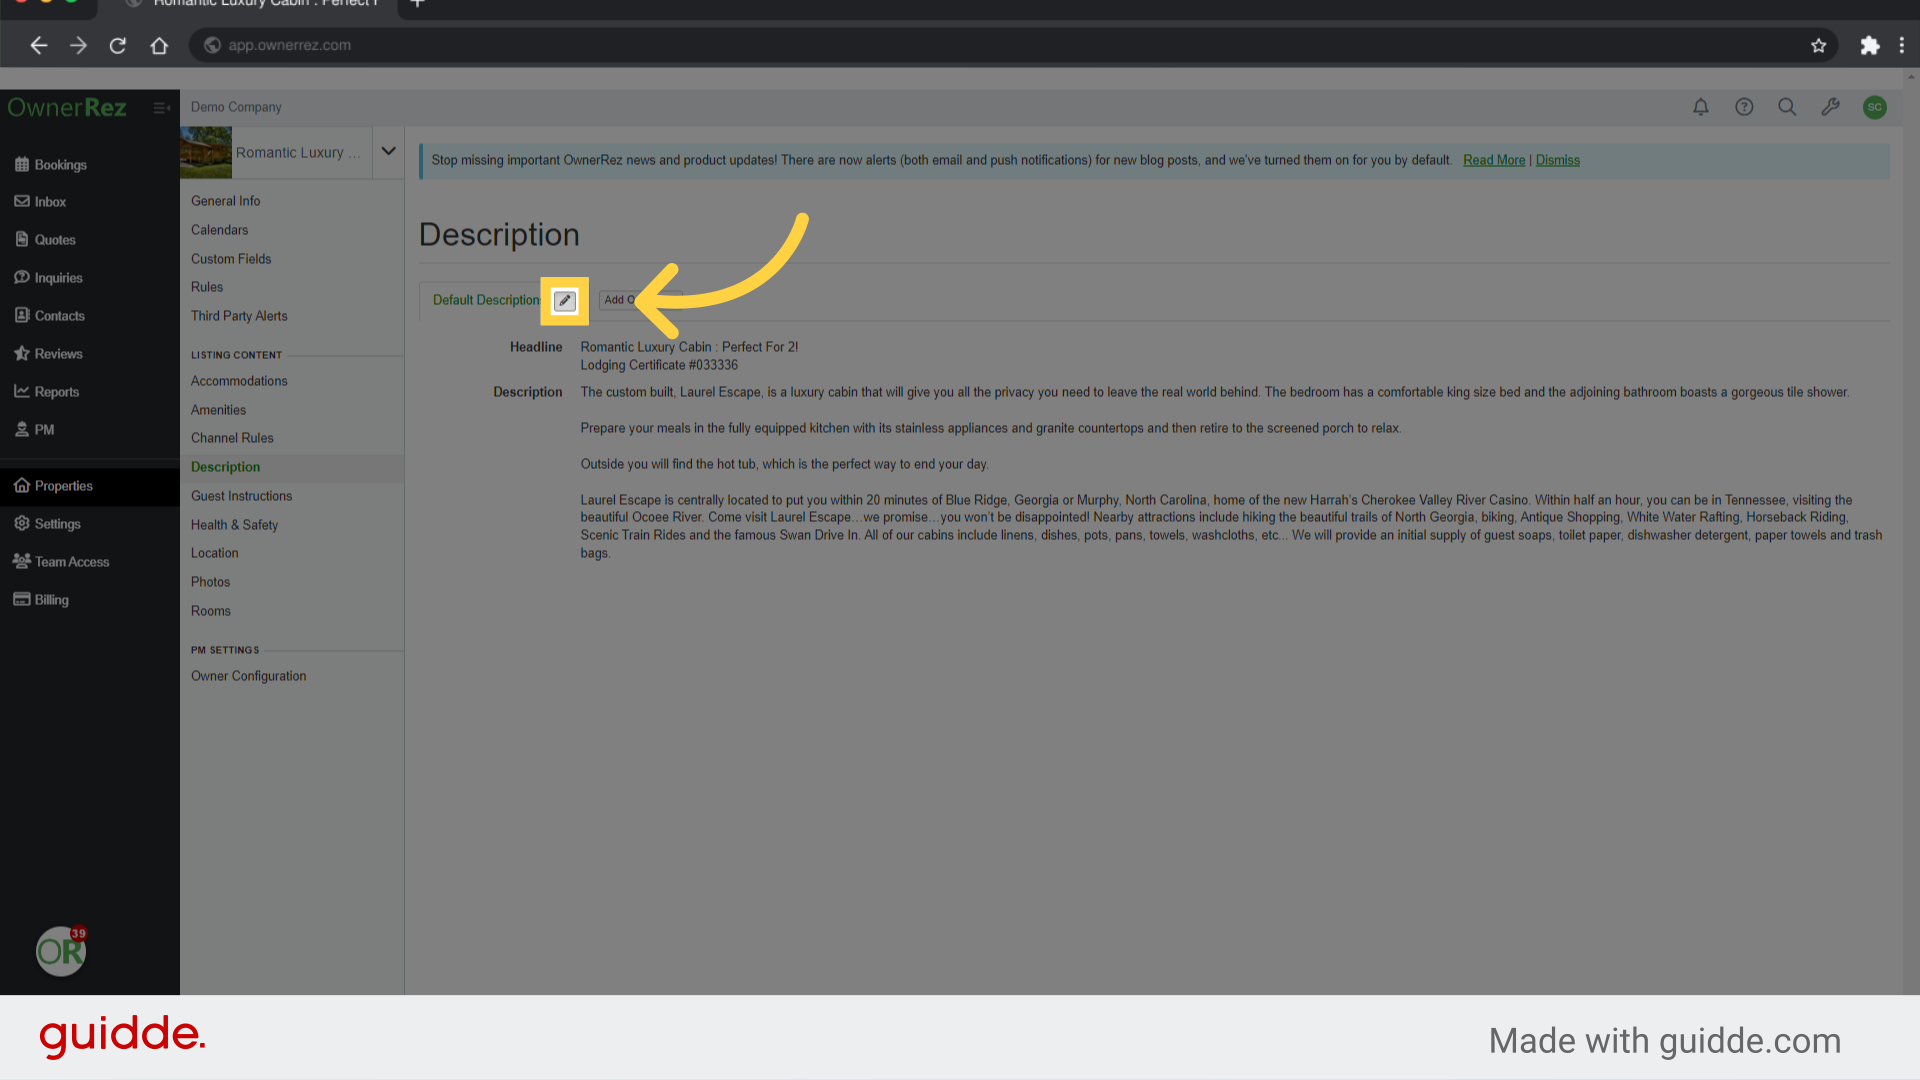
26. Click here
Click on the pencil to edit the description. This is a great time to update your description to make it as creative and rich as possible.
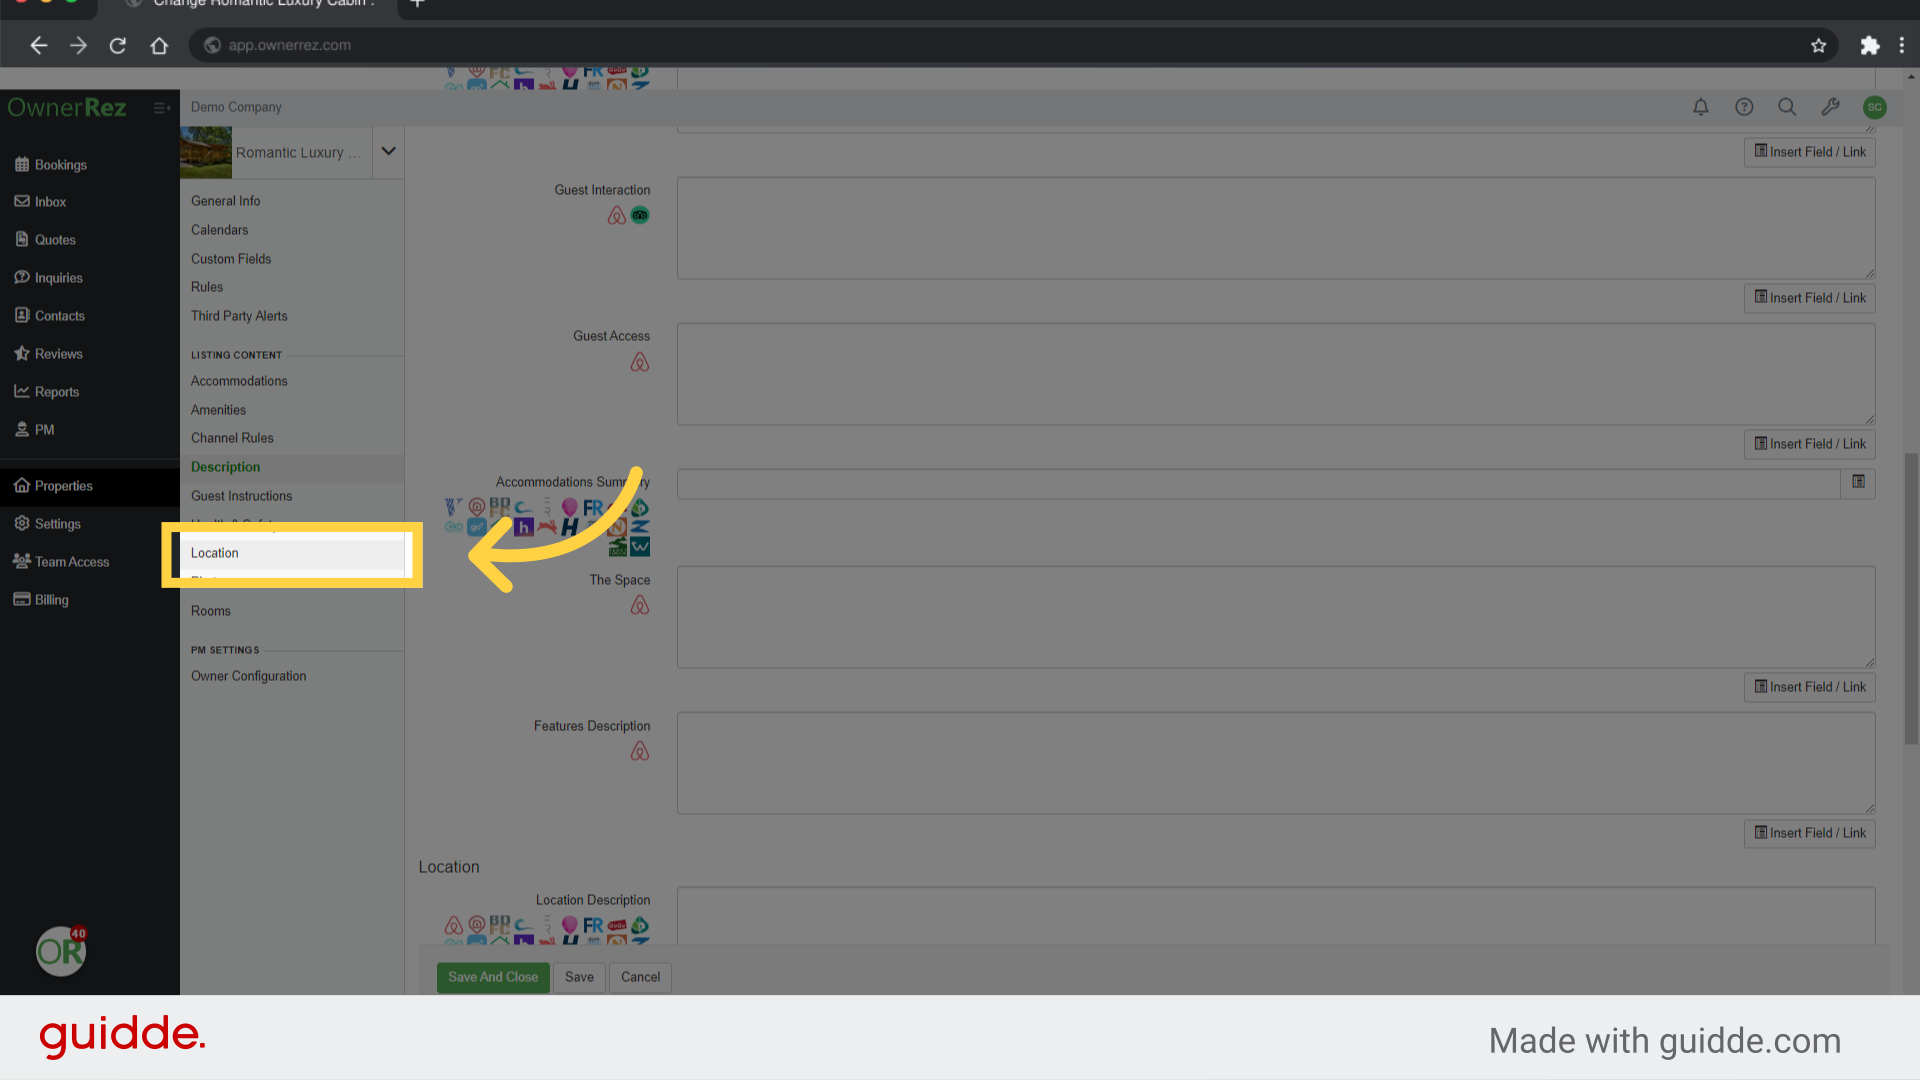
27. Click "Location"
After you have completed the description section, move on to Location. Complete the same process as before.
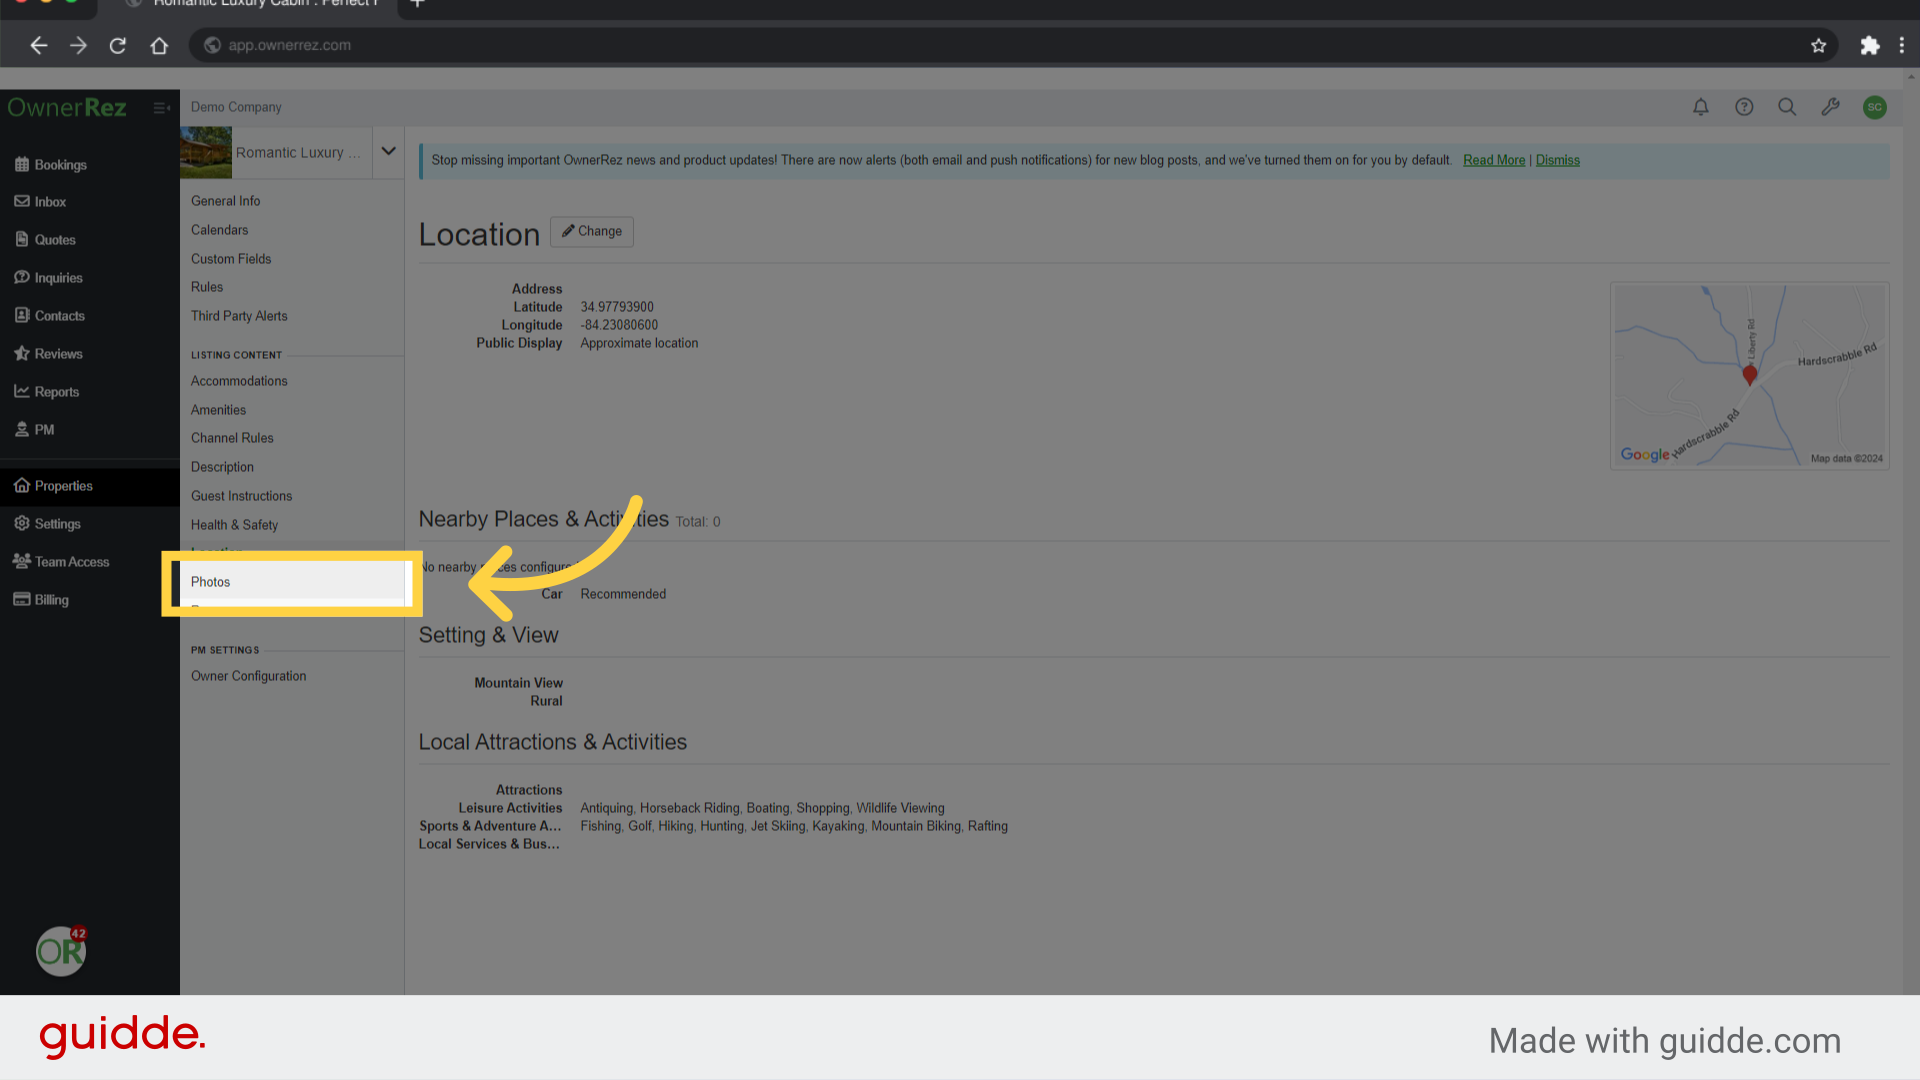
28. Click "Photos"
Access the photo section.
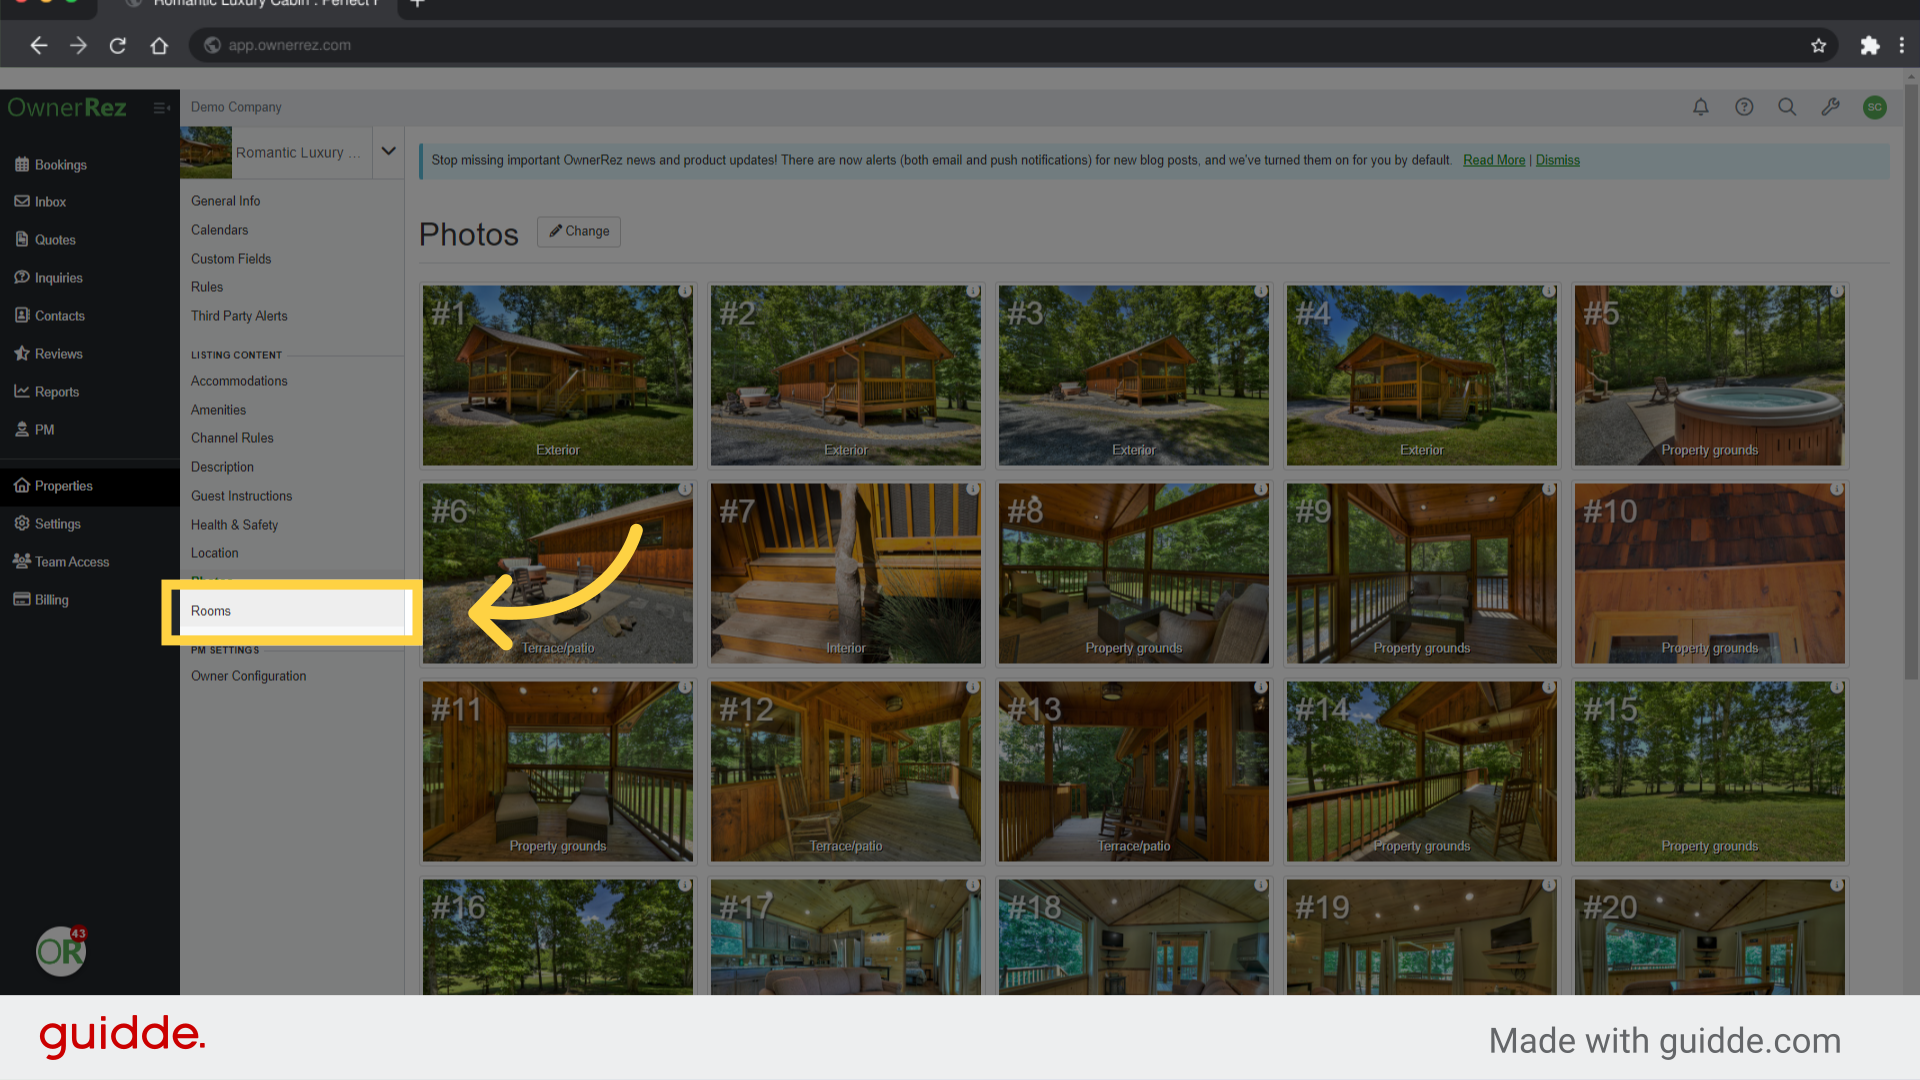
29. Click "Rooms"
In Photos, you can add captions, rearrange the order, or tag photos to specific rooms. Speaking of Rooms that brings us to our last Listing Content Section.
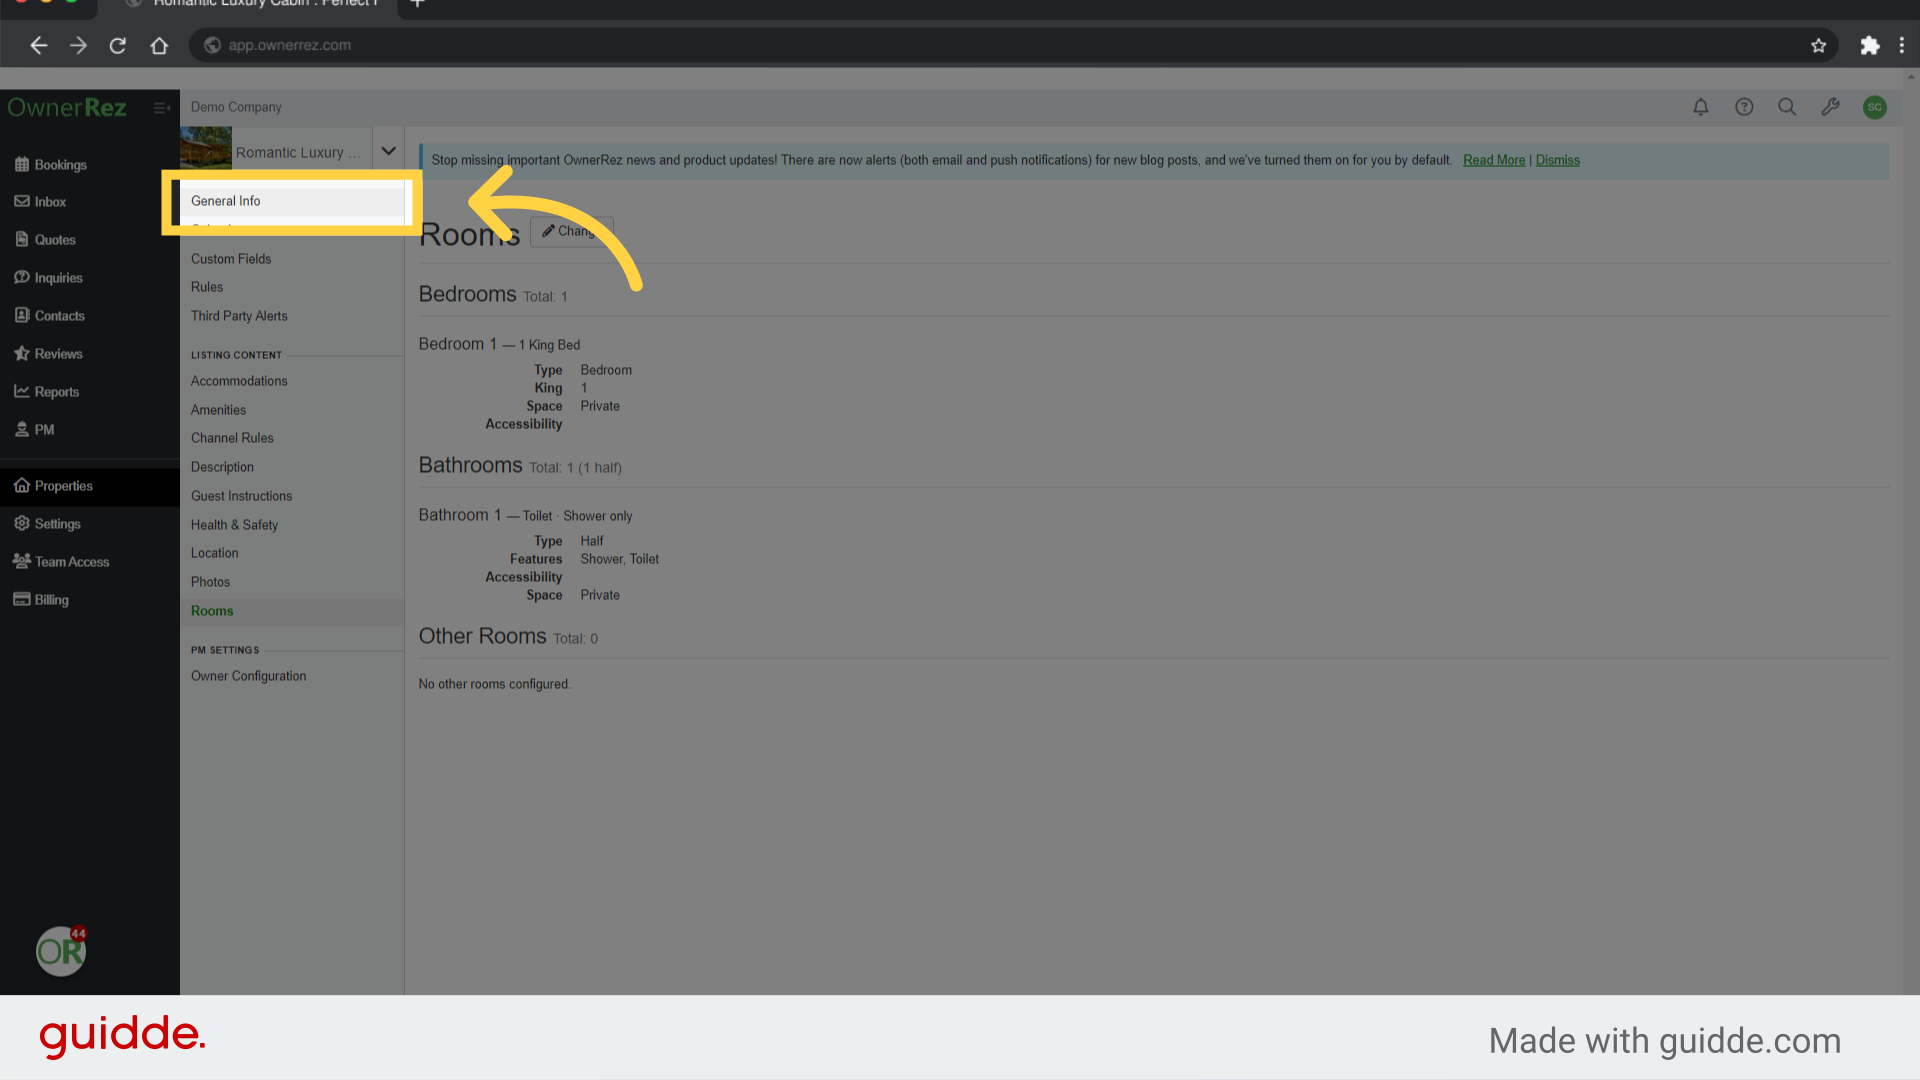
30. Click "General Info"
After checking your rooms and saving any edits, you can go back to the Properties General Info page.
Thank you for watching this guide on importing VRBO listings into Ownerrez, including property selection, accommodation details, amenities, and more. Be sure to watch our other videos for more detailed walkthroughs